Get Your Shine On! Tips for Polishing your Paint
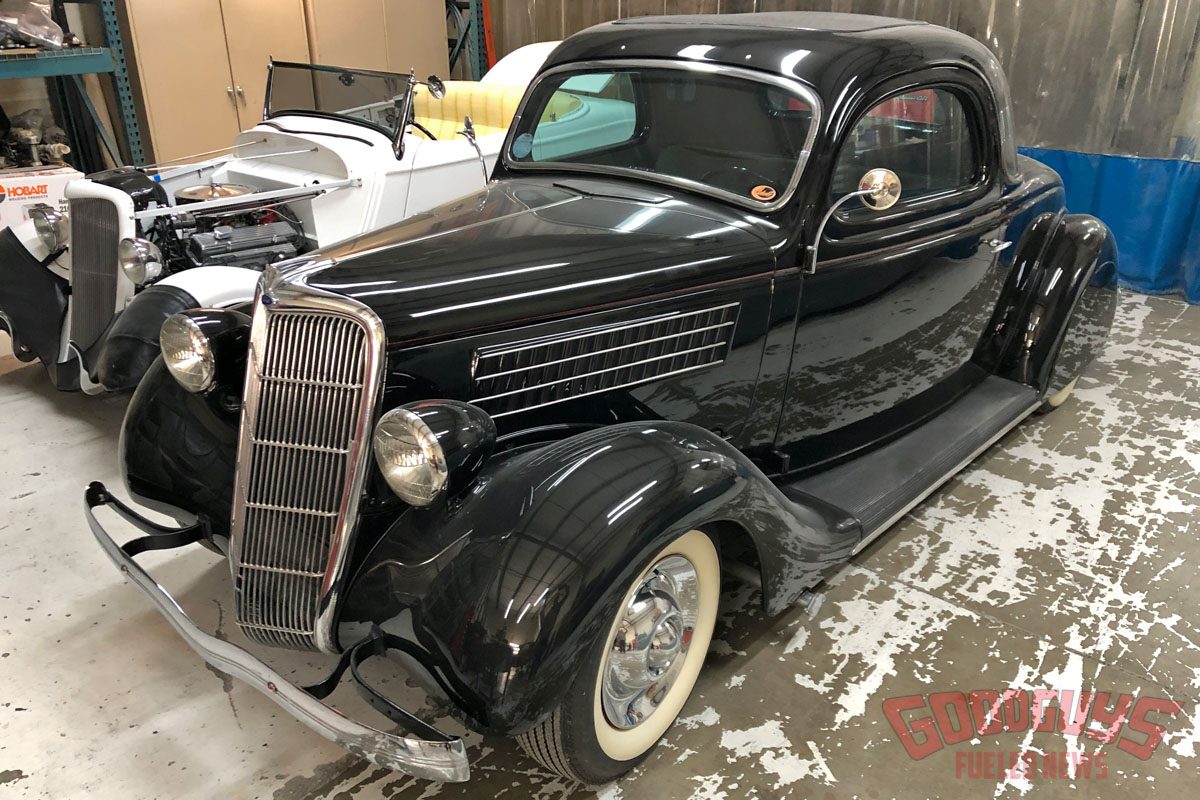
As we get into event season, many of you might be pulling rods and customs out of the garage that have been collecting dust over the winter – or maybe they just haven’t been cleaned in a while. Getting that car or truck’s paint polished up, much like getting the engine tuned up, is a great way to get the season moving on a positive note.
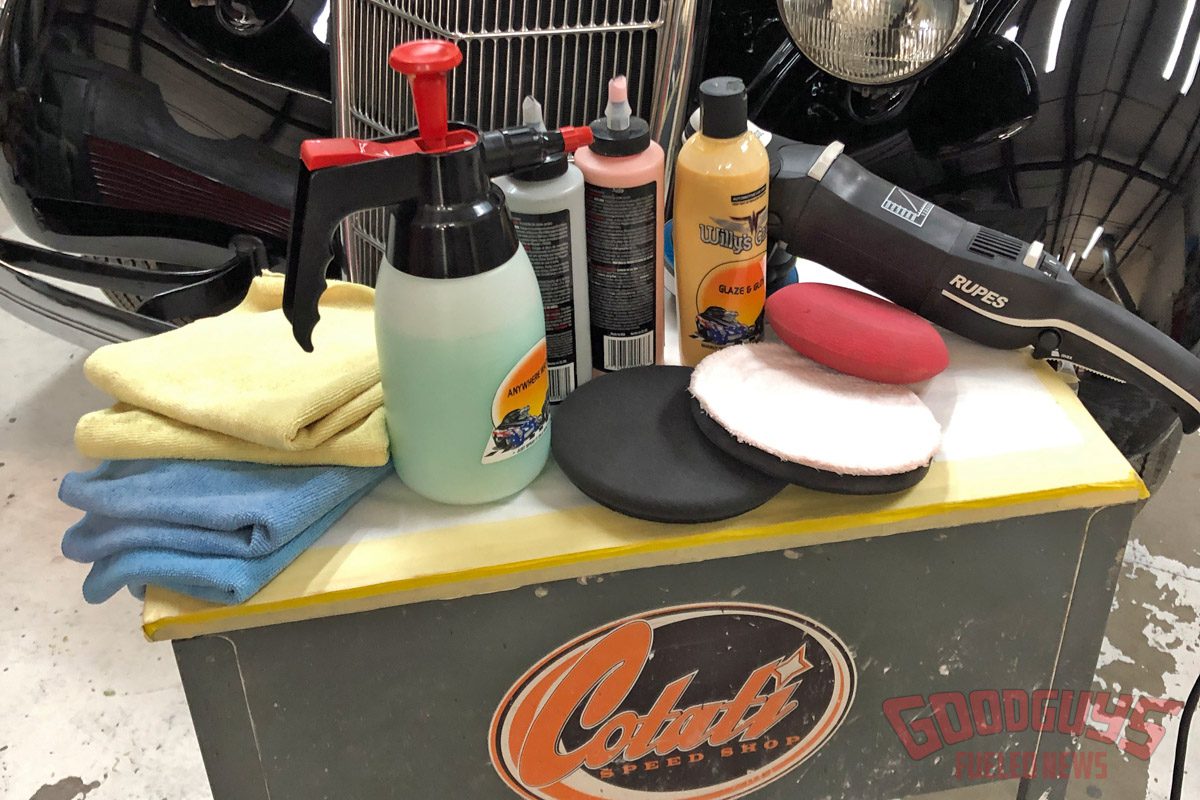
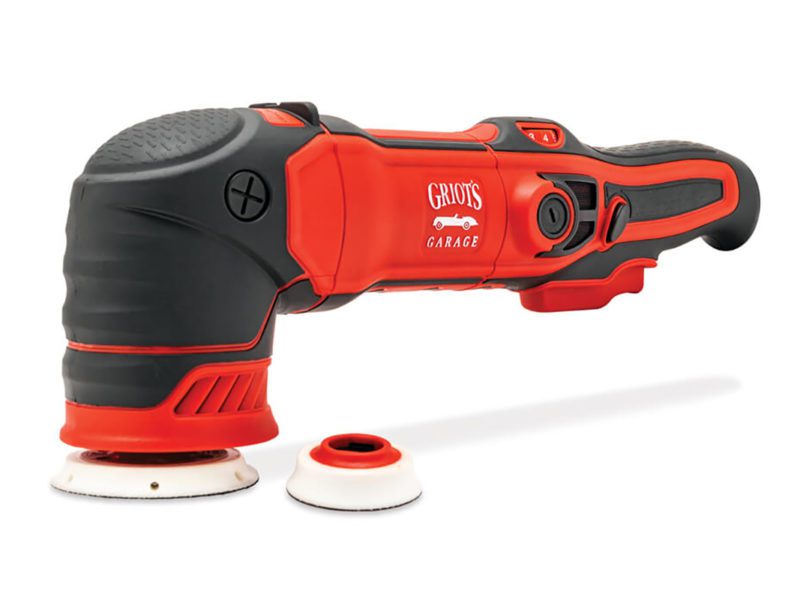
The proliferation of compact, lightweight, and affordable orbital polishing and detailing machines has taken a lot of the physical effort out of correcting and polishing a car’s paint. Most detailing product companies now offer such a machine, and many enthusiasts have one in their garage. This month, I’m going to walk you through a simple two-step process on how you can use one to do some spring cleaning on your car’s paint. Each manufacturer has its own specific compounds and names for its different products, but they all generally follow similar steps to what I’ve outlined here. Let’s get our shine on!
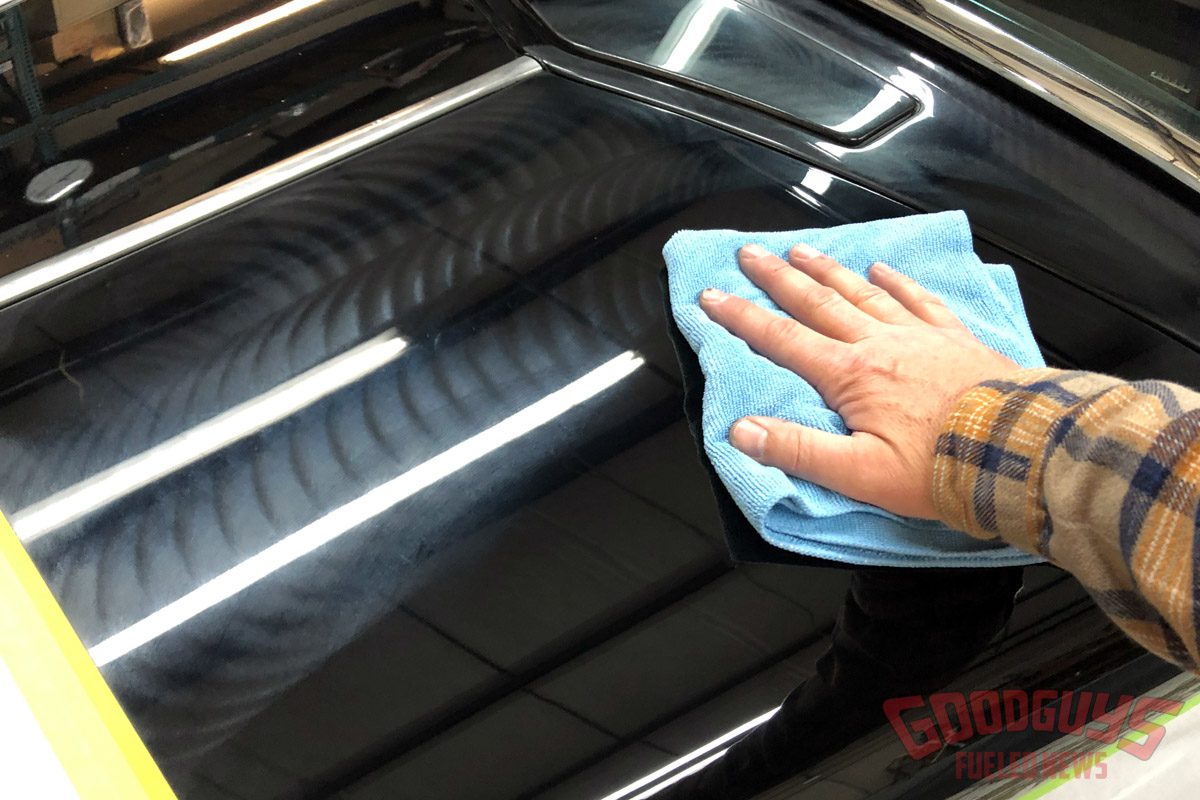
- After sitting in the shop a few months, the hood on this ’35 Ford was a bit dusty and had lost its luster. I first used detail spray and a microfiber towel to clean dust and contaminants off the surface.
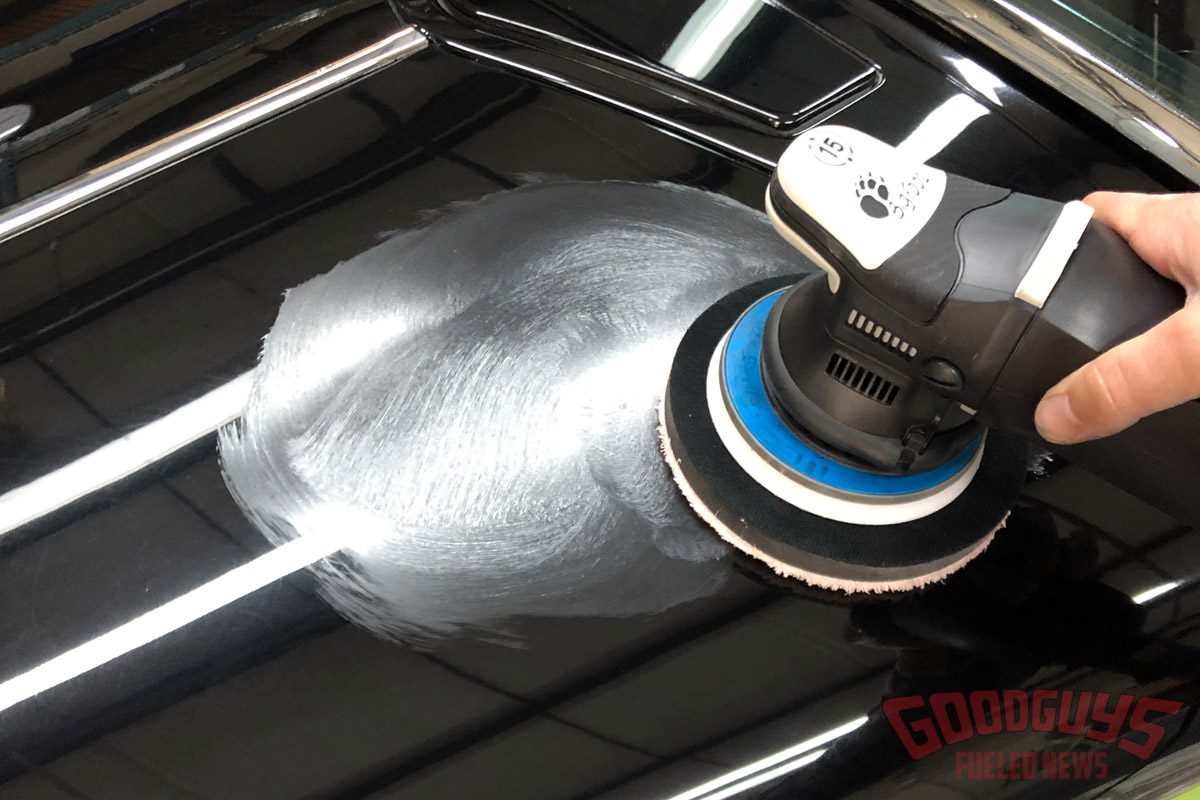
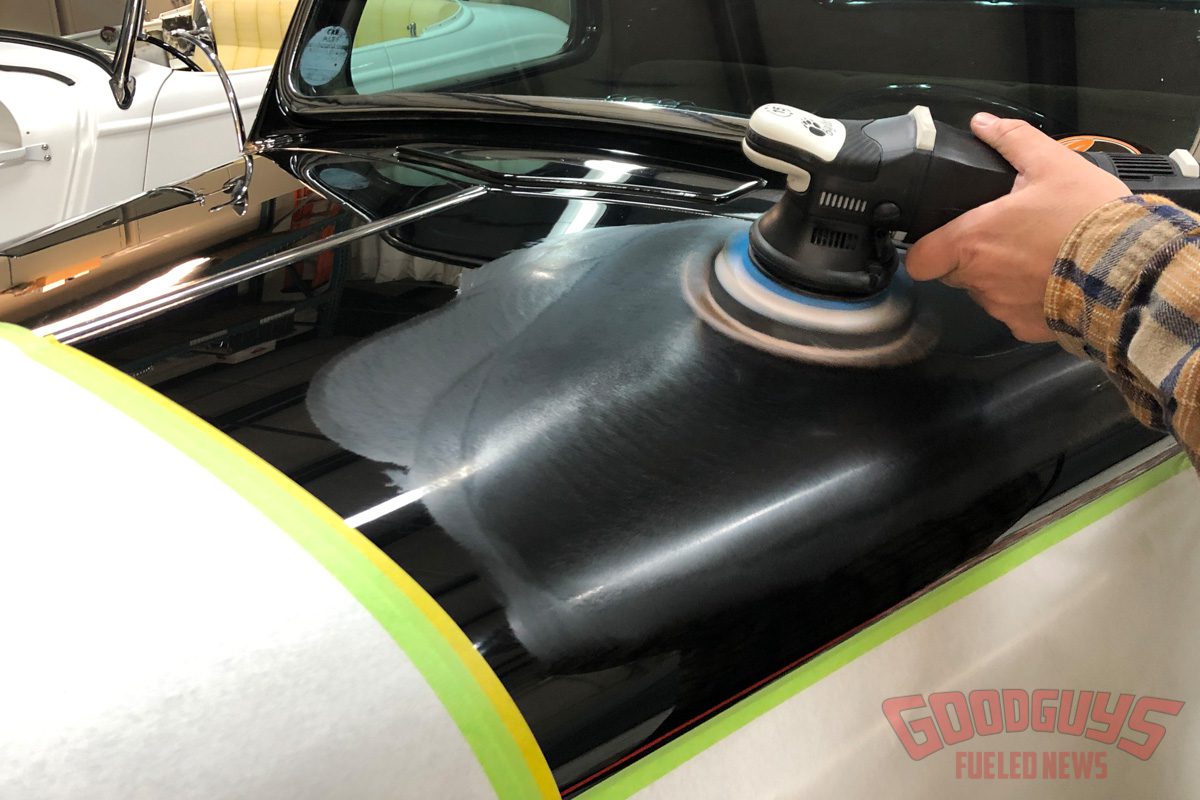
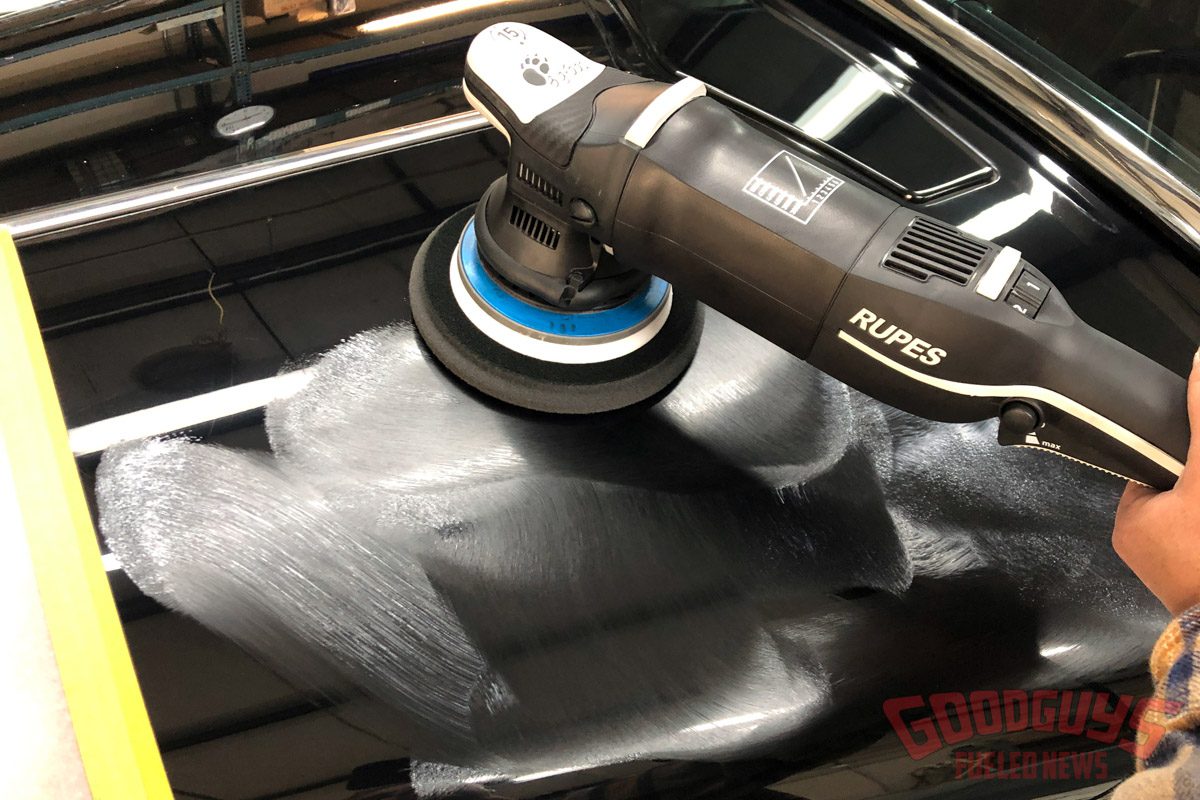
- Most orbital polishing machines are designed for a two-step process. The first step uses a correction compound and a white microfiber pad. I like to apply the compound to the surface and smear it around with the pad before polishing, working the compound into the pad.
- The microfiber pad and correction compound do minimal cutting. The result is similar to a white wool pad on a traditional buffer. I usually polish an area for 3-4 minutes, moving the machine around and making sure the compound doesn’t dry.
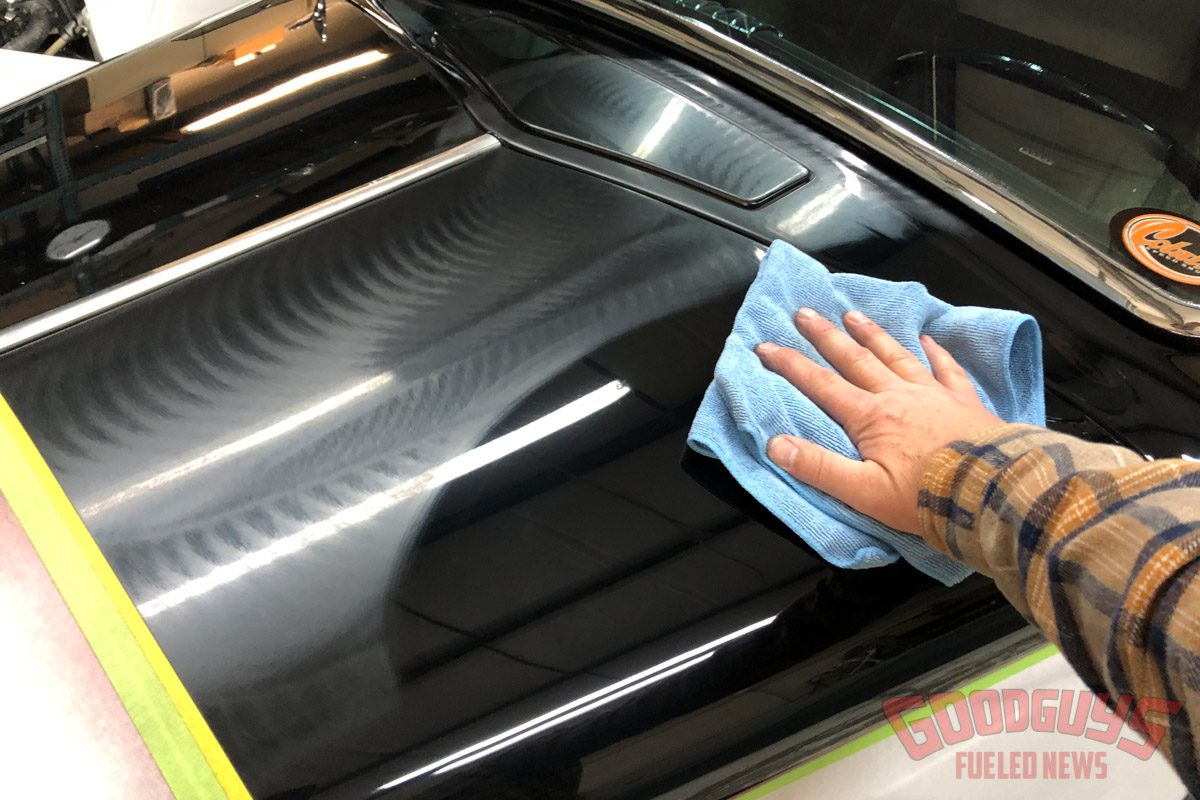
- Once I have thoroughly worked the area with the correction compound, I use a clean microfiber towel to wipe off the compound. You can repeat step one again if you don’t achieve the results you want with the first application.
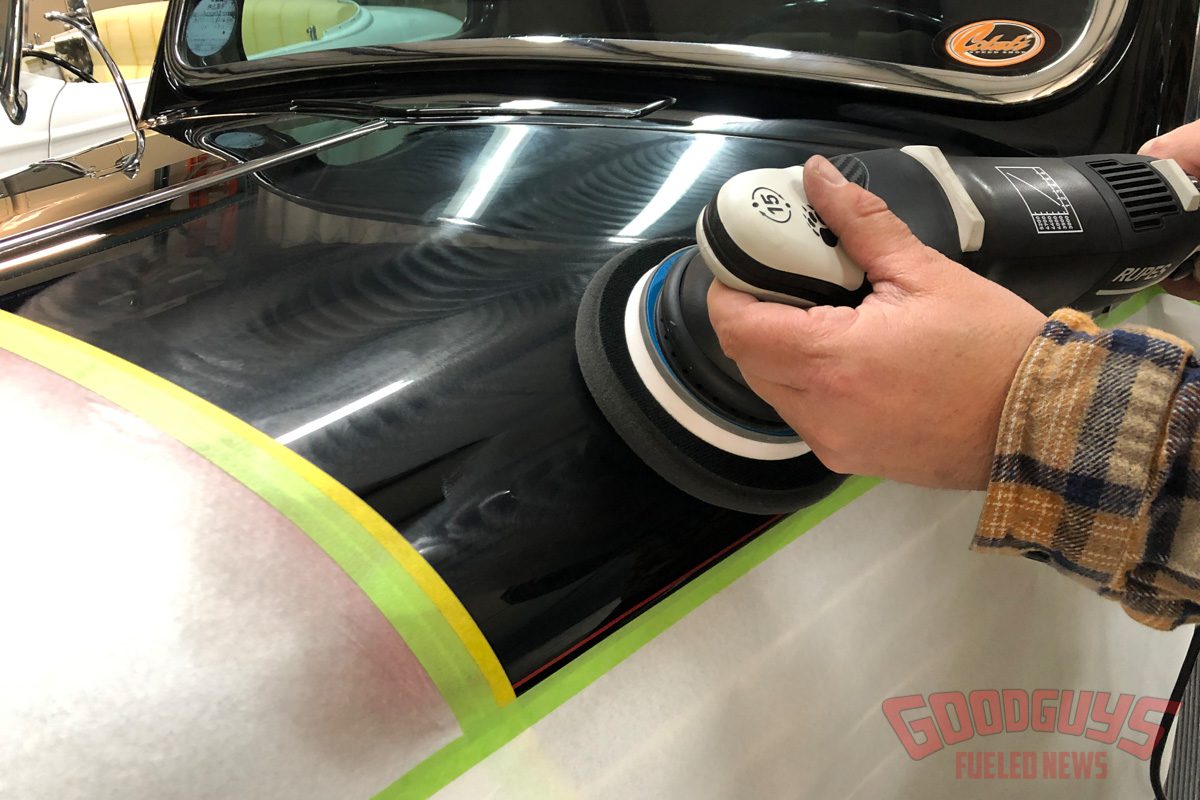
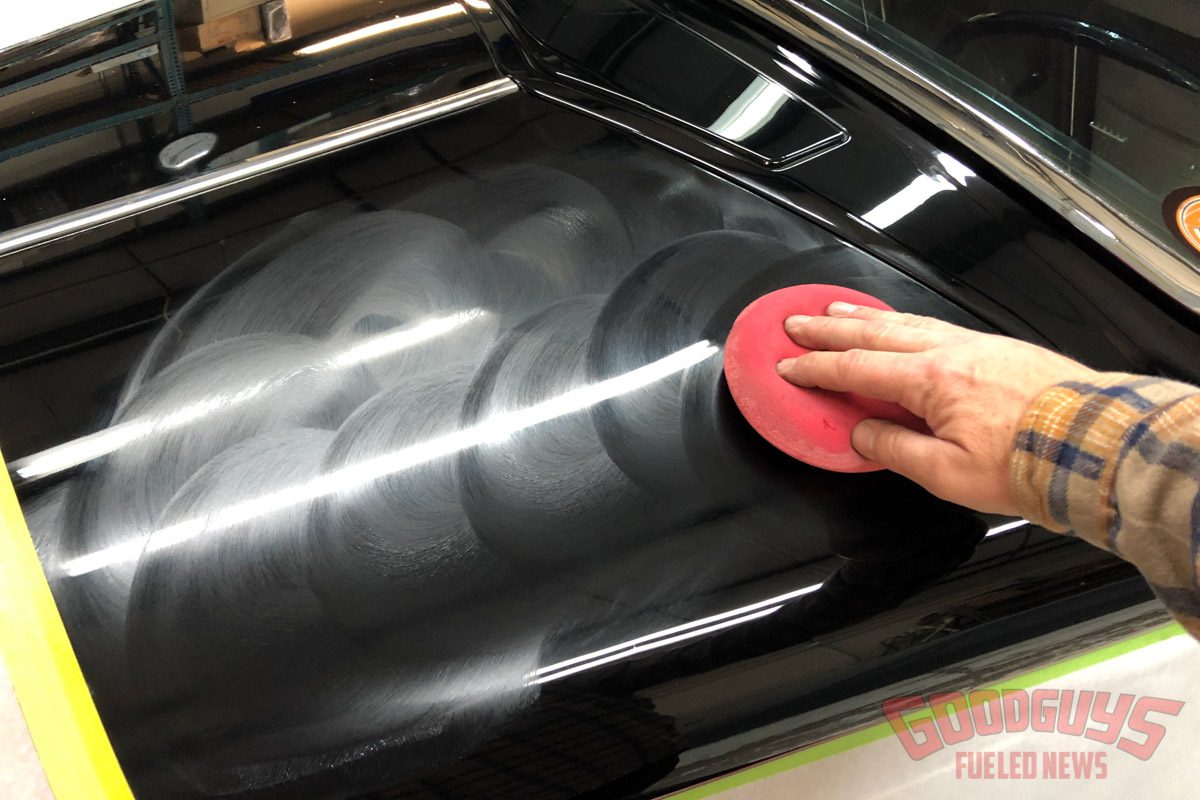
- Next comes the finishing wax or glaze using a foam pad. I approach this the same way, first putting the material on the surface and spreading it around with the pad…
- …and then turning the machine on to work the glaze into the surface. Again, I work an area for 3-4 minutes, move around the entire time, let the machine do the work, and keep the material wet.
- When step two is complete, I use another clean microfiber towel to wipe the area clean.
- It’s not unusual to have a little leftover residue or some wax smears on the surface, so I typically add a third step to the process and apply an additional coat of wax or glaze by hand using a foam pad and wiping it with a microfiber towel.
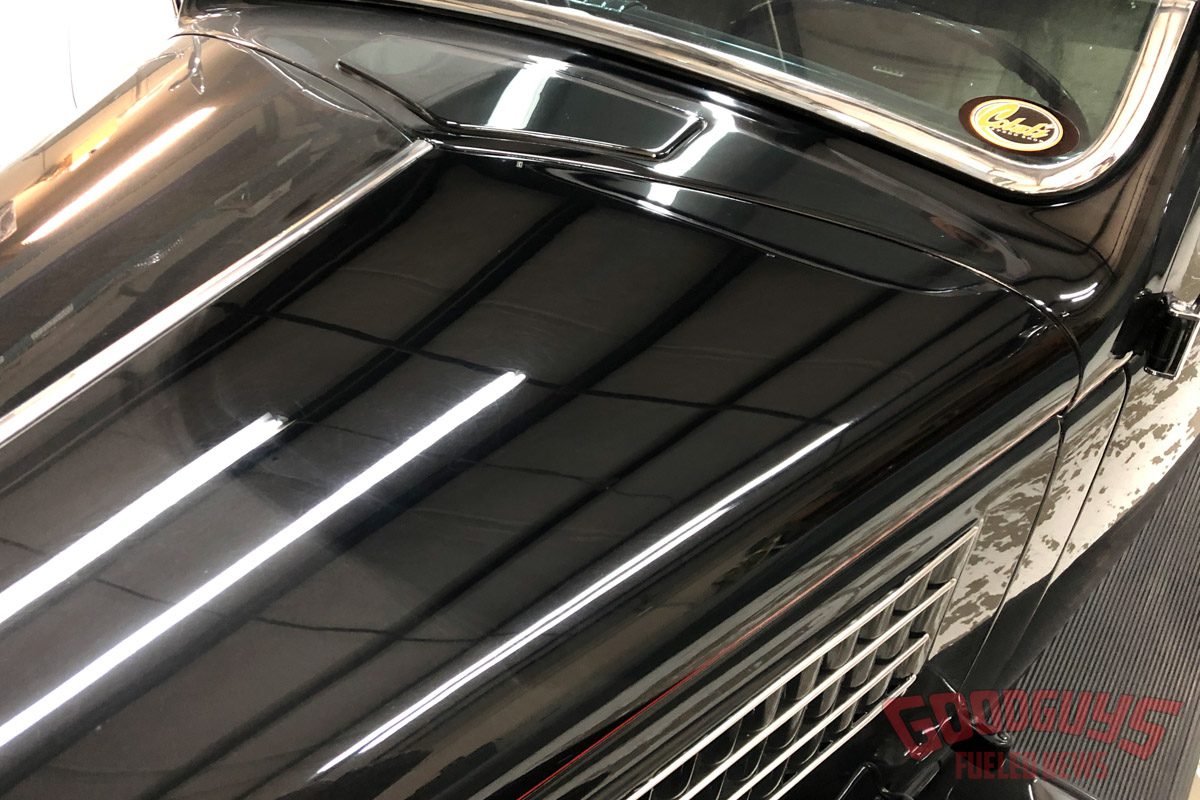
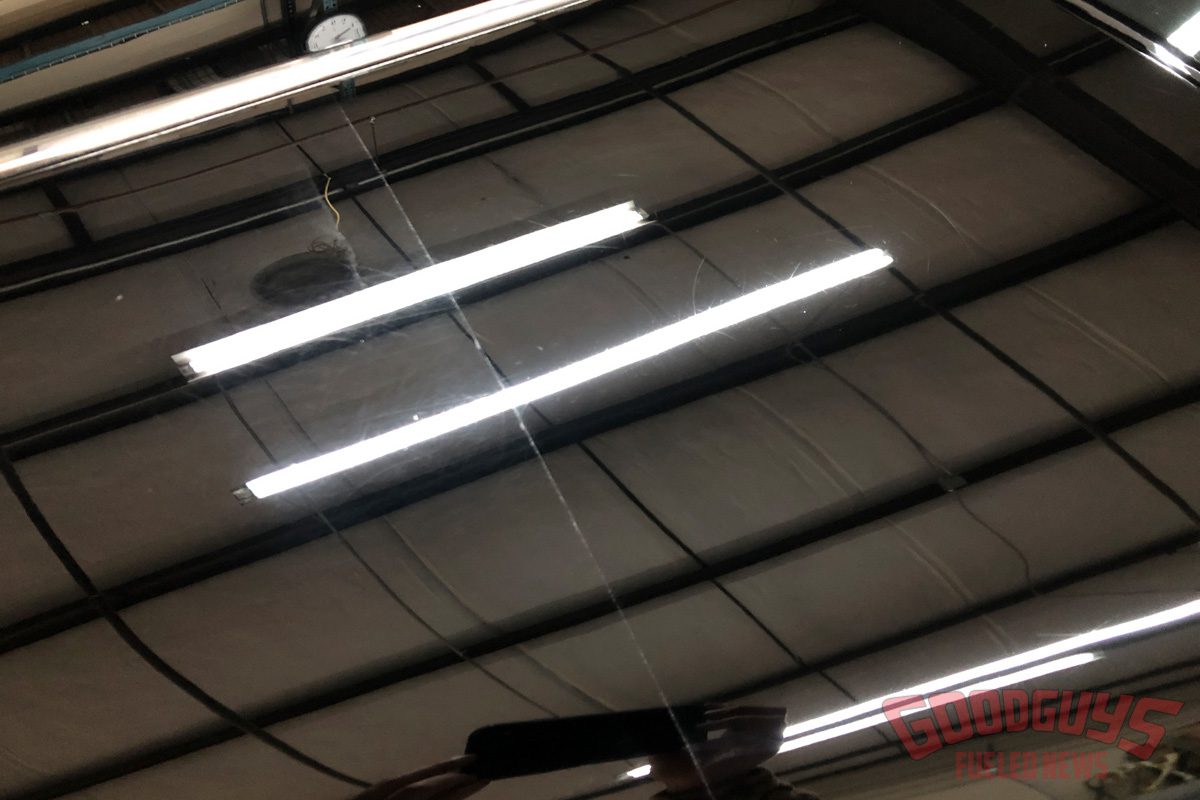
- With my tape line removed, you can see the difference from left to right. The orbital process improves the clarity and depth of the paint, adding a little more visual pop before we head out to shows and cruise nights.

