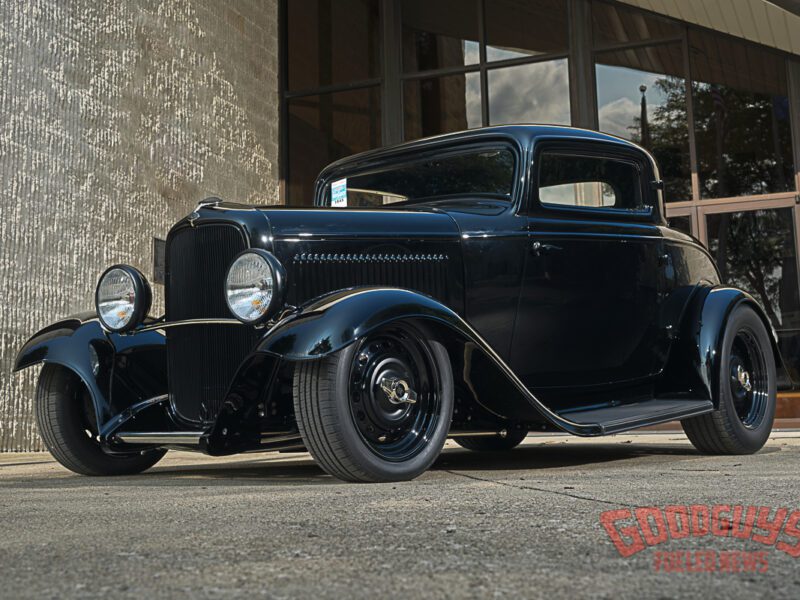
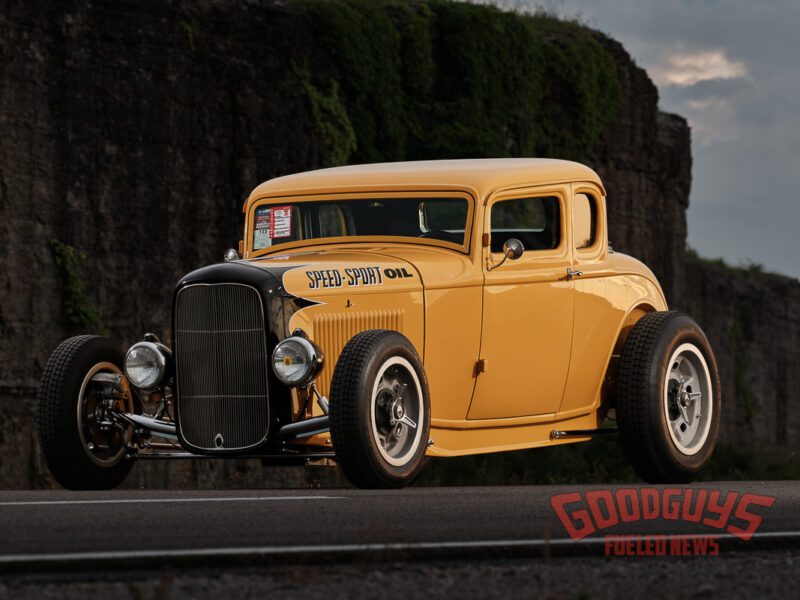
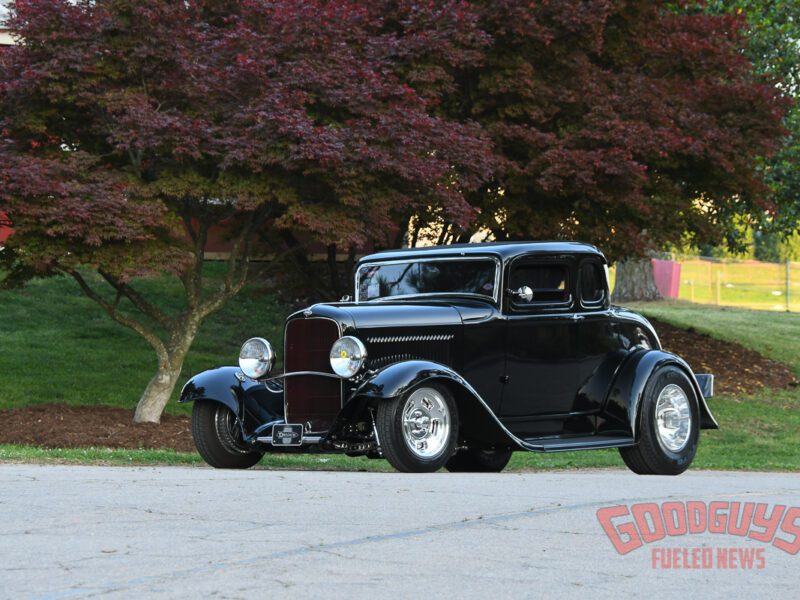
Streamline Custom Designs Chops the Top on the 2023/2024 Goodguys Giveaway ’32 Ford Coupe
To chop or not to chop, that is the question.
Is it, really, though? C’mon, we’re talking about a Deuce coupe hot rod – of course we want it chopped!
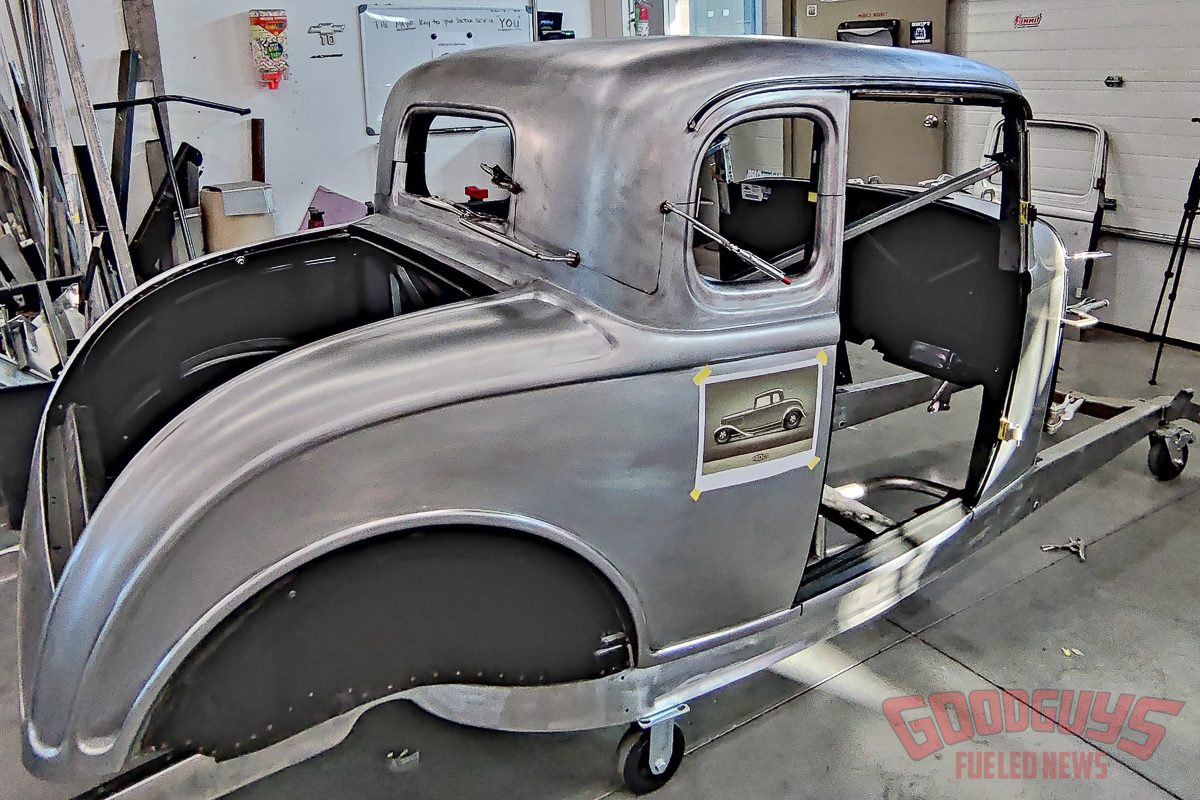
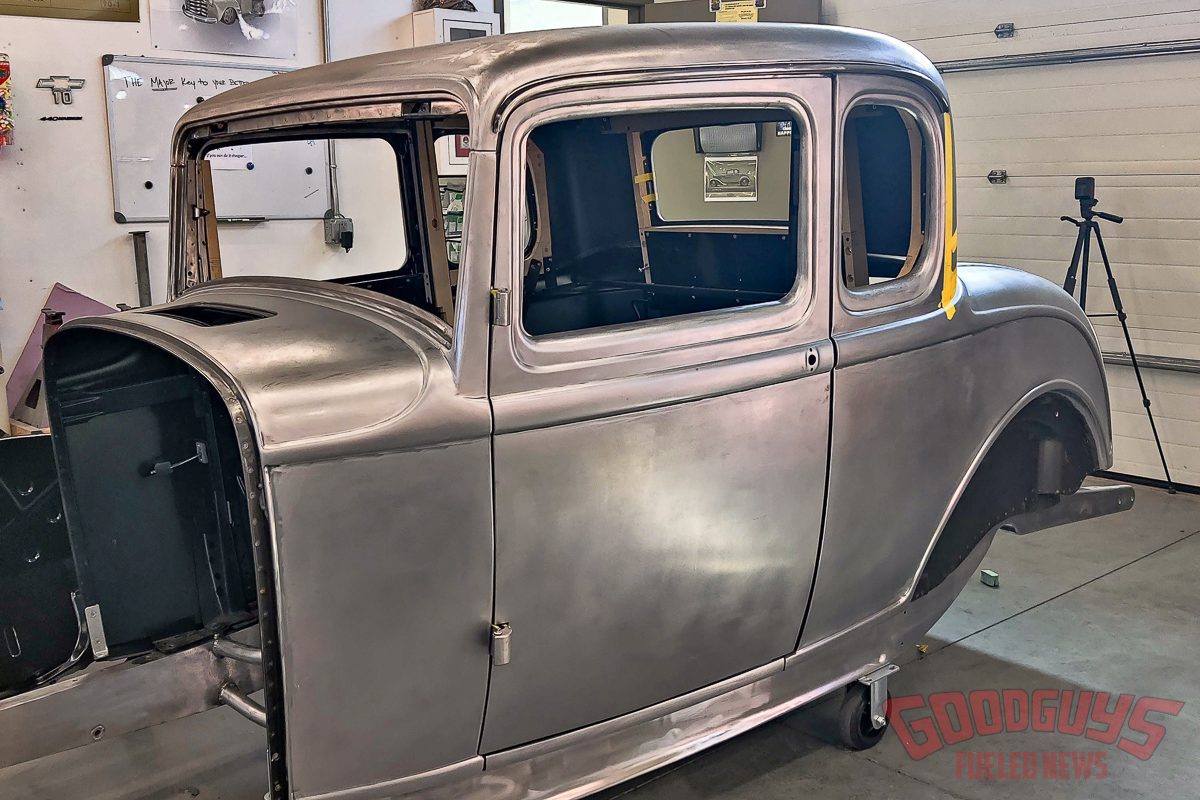
When we first announced the a ’32 Ford five-window coupe as the Goodguys Grand Prize Giveaway vehicle for 2024, there was actually a little uncertainty about whether to chop the top. Starting with fresh sheet metal panels from United Pacific, the team at Streamline Custom Designs assembled a rock-solid stock-height coupe body. And even artist Eric Black was unsure on whether the top needed lowered in his design renderings.
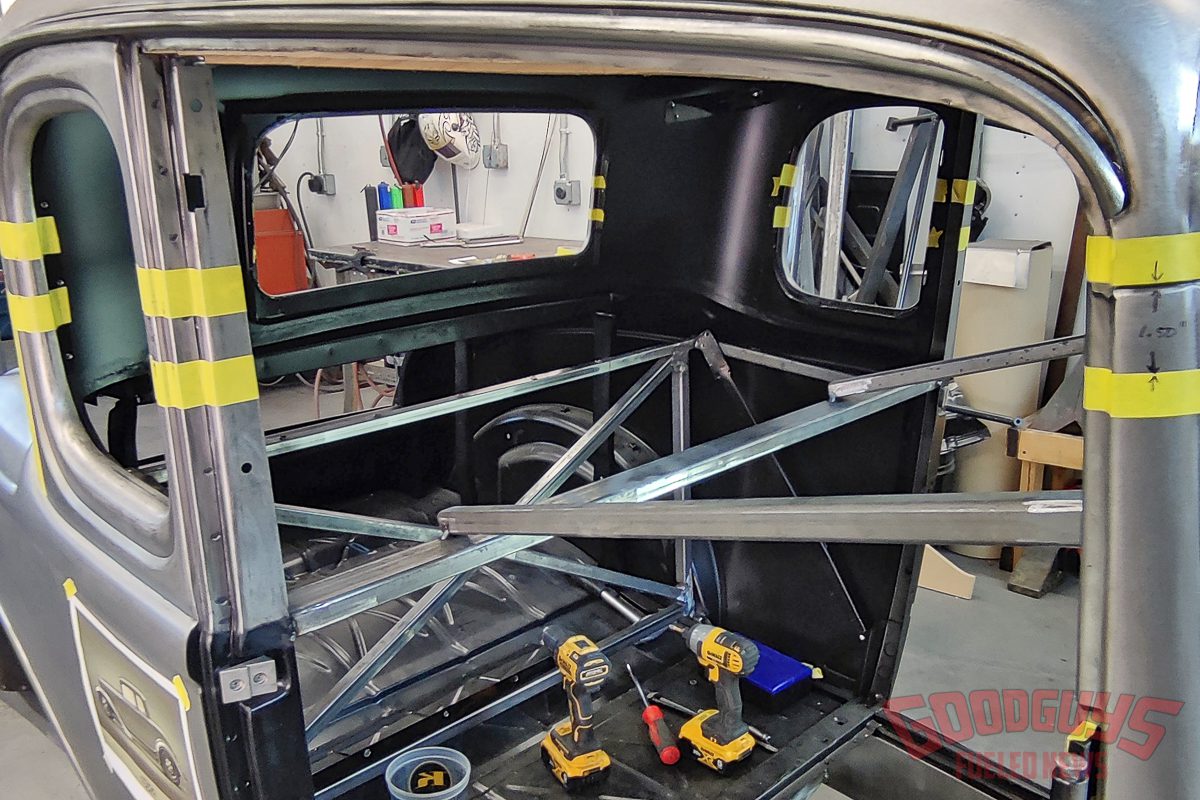
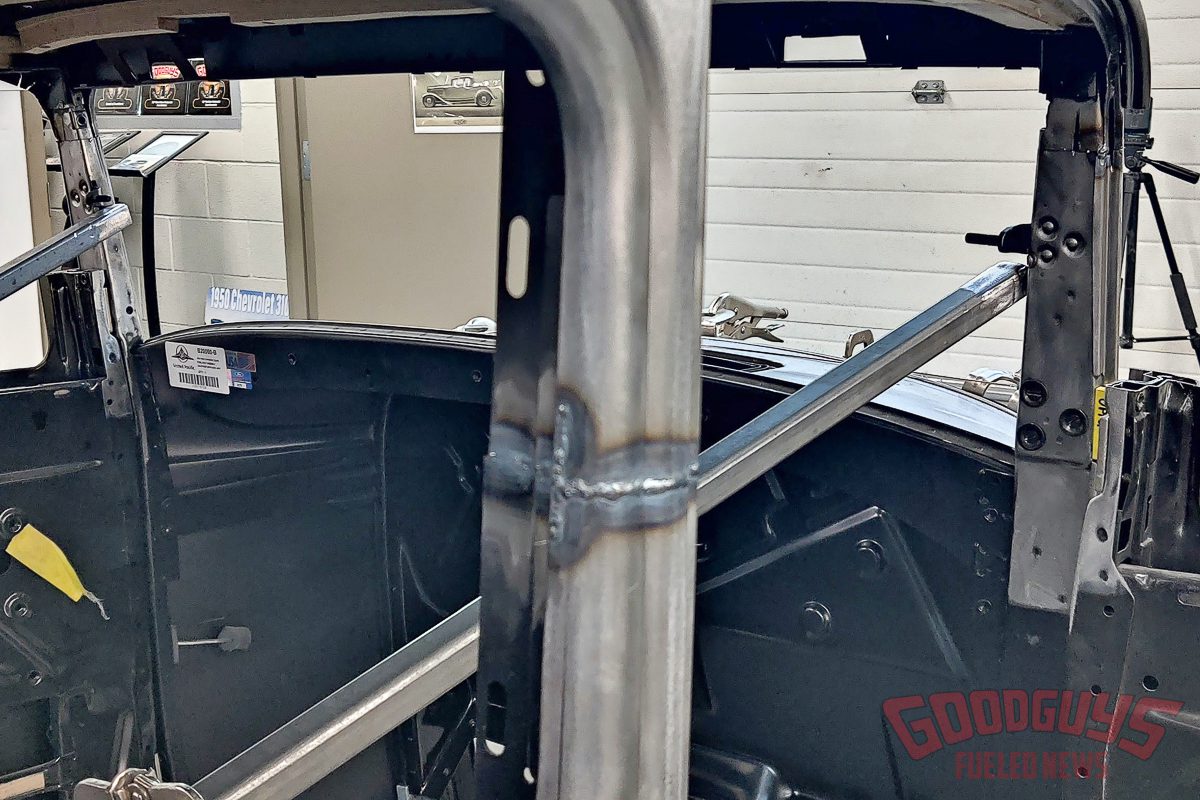
Before any cutting was done, temporary metal braces were welded inside the body to prevent flexing when the top was removed. This ensured that the body would remain square and true after the chop.
“We’ve been playing around with chop, or no chop, or how much chop,” Eric said in the early days of planning. Eric’s theory is that full-fendered car like this coupe doesn’t beg for a significant top chop the same way a highboy might. Ultimately, Eric and Streamline’s Donnie Hall couldn’t resist taking out a little slice, with an emphasis on little. They agreed that removing just 1.5-inches would suit the coupe just right. “A lot of people won’t notice it, they’ll just wonder why it looks so good,” Eric says.
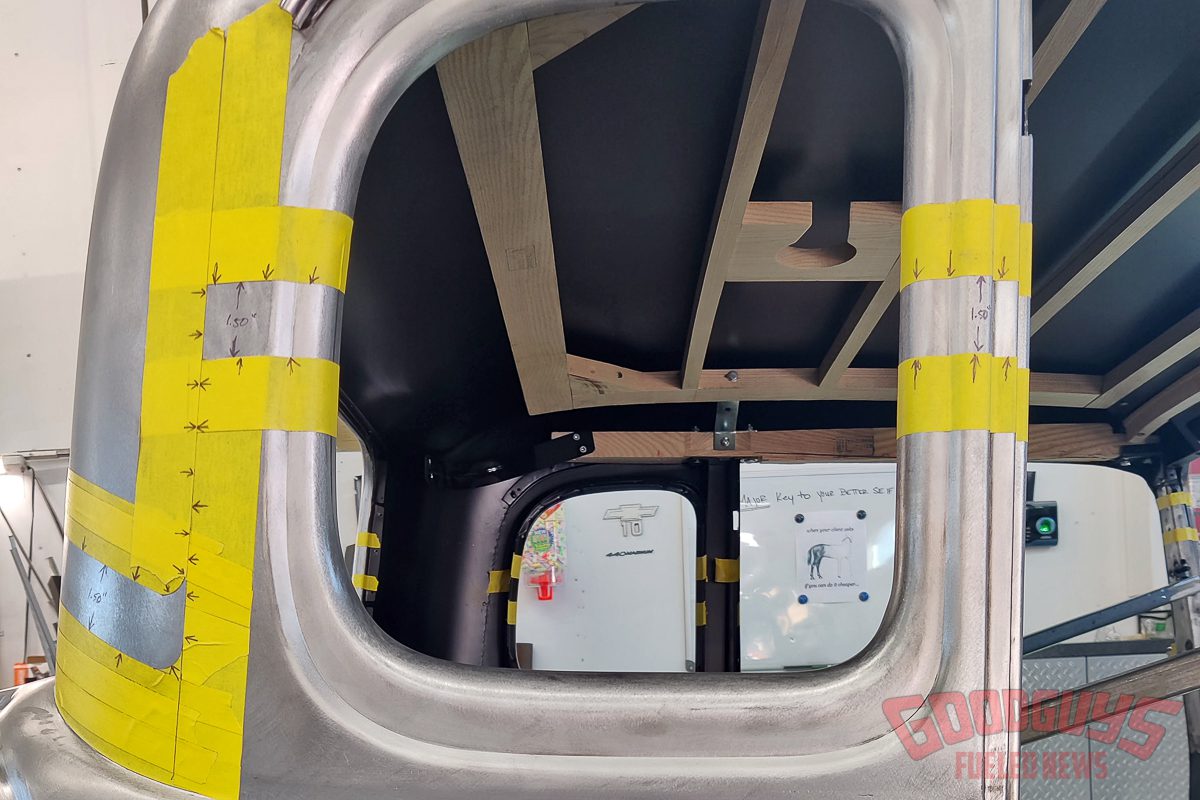
With Eric Black’s artwork as a guideline, Streamline’s Donnie Hall carefully mapped out his cuts. He used the B-pillar as the starting point, identifying the center of the pillar’s straightest section and measuring 3/4-inch up and 3/4-inch down to determine where the 1.5-inches would be removed. The cut at the back of the quarter windows would match that.
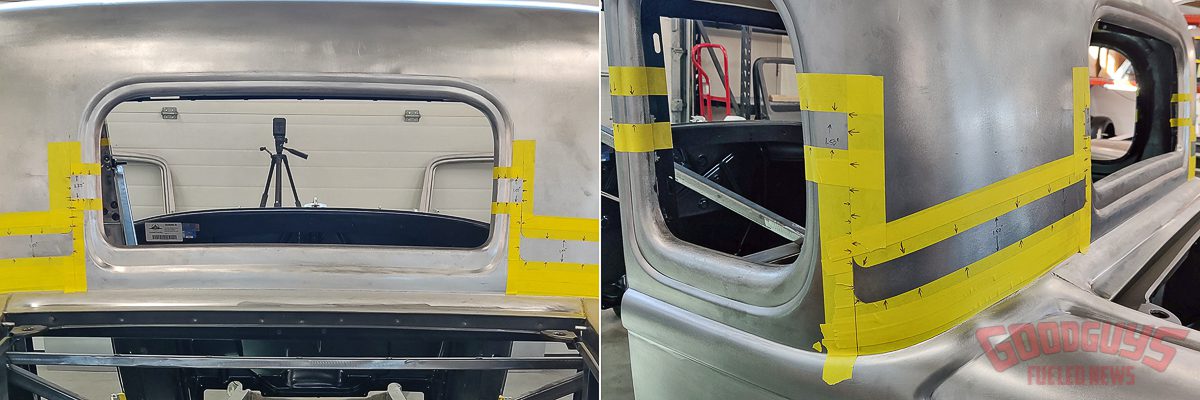
Things got a little more involved on the rear of the roof. Donnie kept the cut lines for the back window in line with those for the B-pillars and quarter windows. But behind the quarter windows he mapped out a Z-cut, with vertical slices to be made behind the quarter windows and next to the rear window, and the 1.5-inch section to be removed from the lower portion of the top, near the beltline. This lower area is more vertical and, being closer to the beltline, it has more support, so it’s less prone to warping when it’s welded back together. The vertical cuts also help with alignment when the top is reunited with the body.
Another consideration for the subtle cut is the fact that this is a giveaway car, after all. “The first thought was given to the future lucky winner of this ’32 and its functionality,” says Streamline’s Isaac Gonzales. “A drastic chop would not fit a tall end user.”
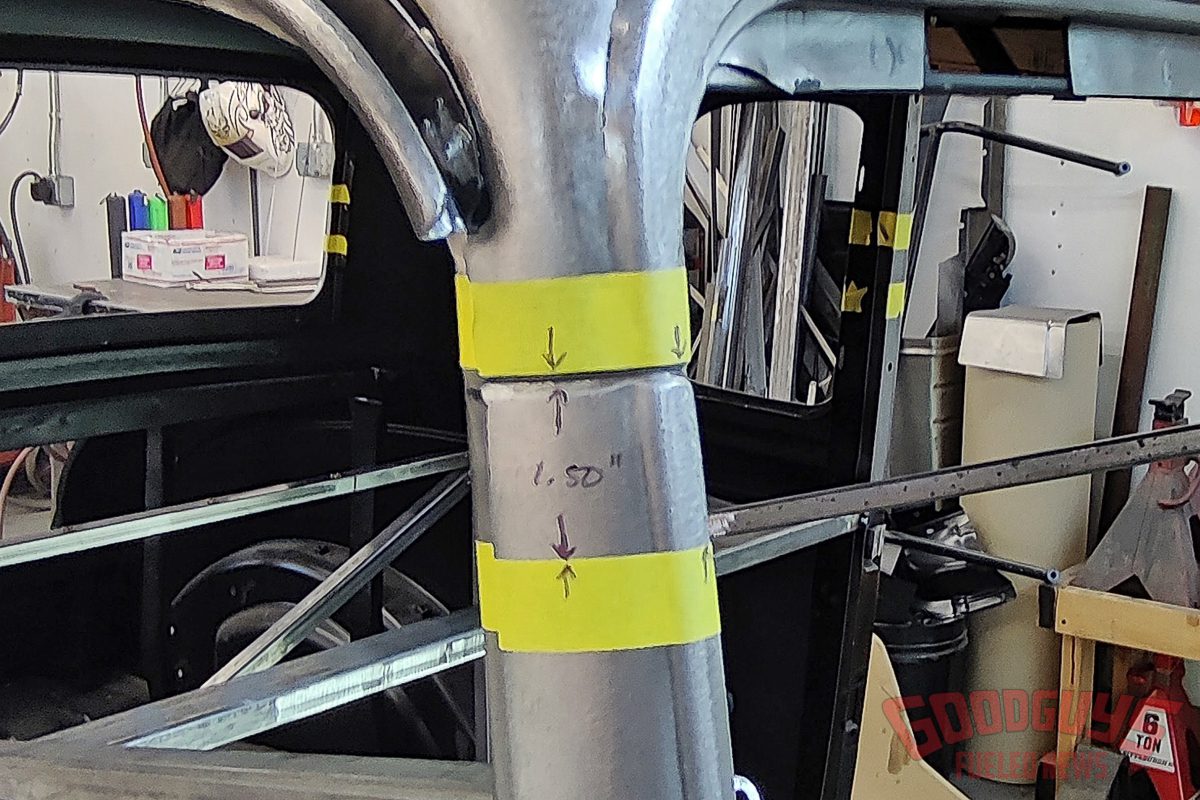
On the A-pillars, Donnie used the factory seam on the upper pillars as the high point for his cut, measuring 1.5-inches down from that fixed position to determine what material to remove.
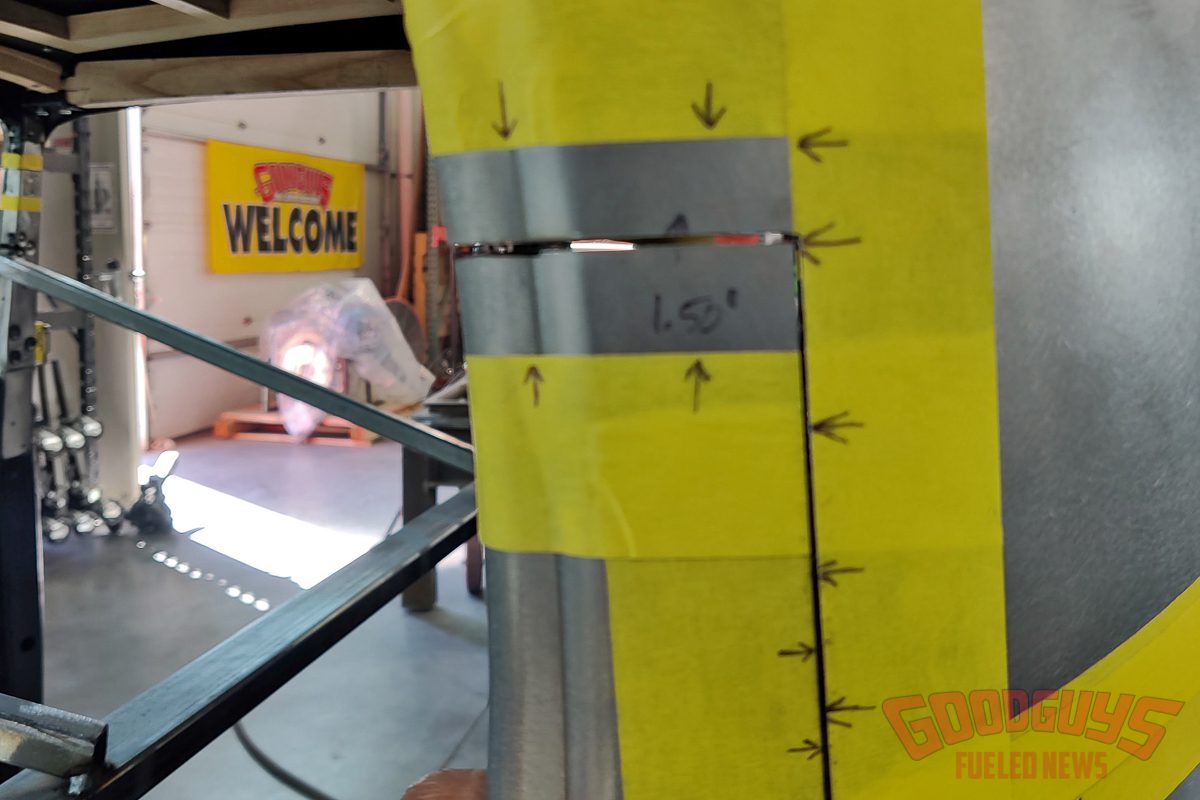
When it came time to make the cuts, Donnie cut right through the center line of the section to be removed, then followed the vertical cut lines he had marked out on his masking tape. This will leave material to be cut away on both the top and the main body.
Talking about the chop is one thing, but cutting metal to make it happen is quite another. Donnie Hall is the right man for the job. Not only does he have the metalworking skills, but he’s also done his research to know where and how to cut to achieve the best results. A lot of rodders assume you just slice through the middle of the top, remove the desired amount of material, and weld things back together. There’s more to it than that, though, and a more thoughtful method can yield more favorable results.
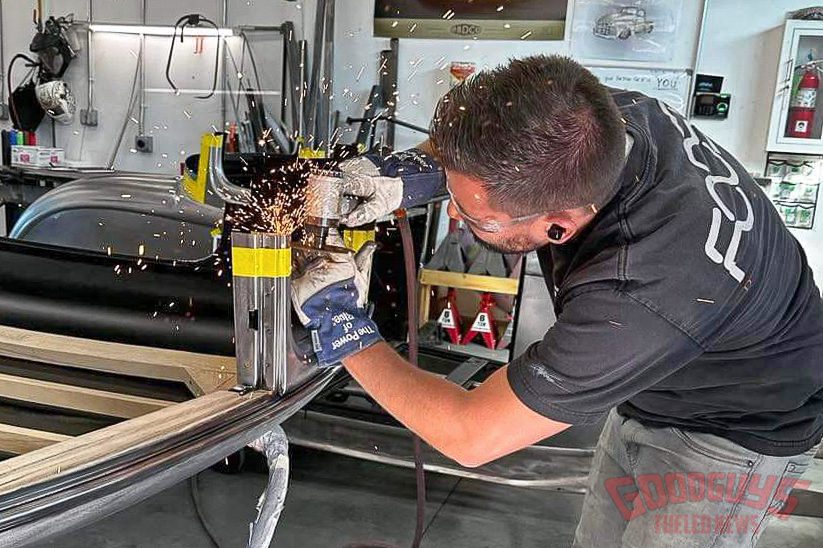
Donnie used a cutoff wheel to remove the 3/4-inch of material from the roof pillars and rear panel, and the 3/4-inch from the corresponding areas on the body.
For Donnie, that meant utilizing the B-pillar as the starting point. He identified the center of the straightest section and measured 3/4-inch up and 3/4-inch down to determine where the 1.5-inches would be removed. From there, he brought that line through to the middle of the rear window and, after finding center, he jogged the cut line down for a Z-style chop. By bringing the cut line closer to the beltline across the back of the roof, he was able to weld in a stronger, flatter area, which would help prevent warping and the need to make vertical relief cuts. Moving onto the A-pillar, he used the factory seam as the high point and measured 1.5-inches down from that fixed position to determine what material to remove.
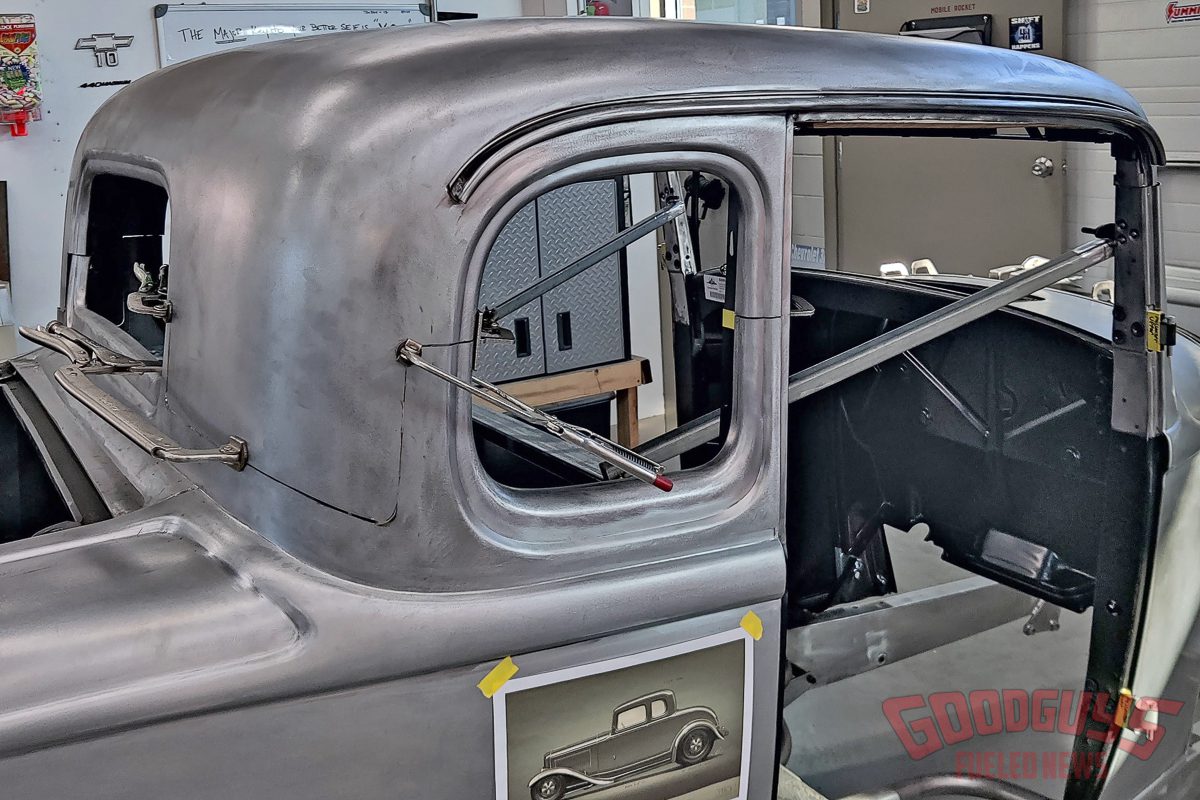
With the 1.5-inches of material cut away, the top was then positioned back on the body, test for fit, and any necessary adjustments made. As evidenced by the seam on the B-pillar, Donnie’s method made for a clean and precise reunion.
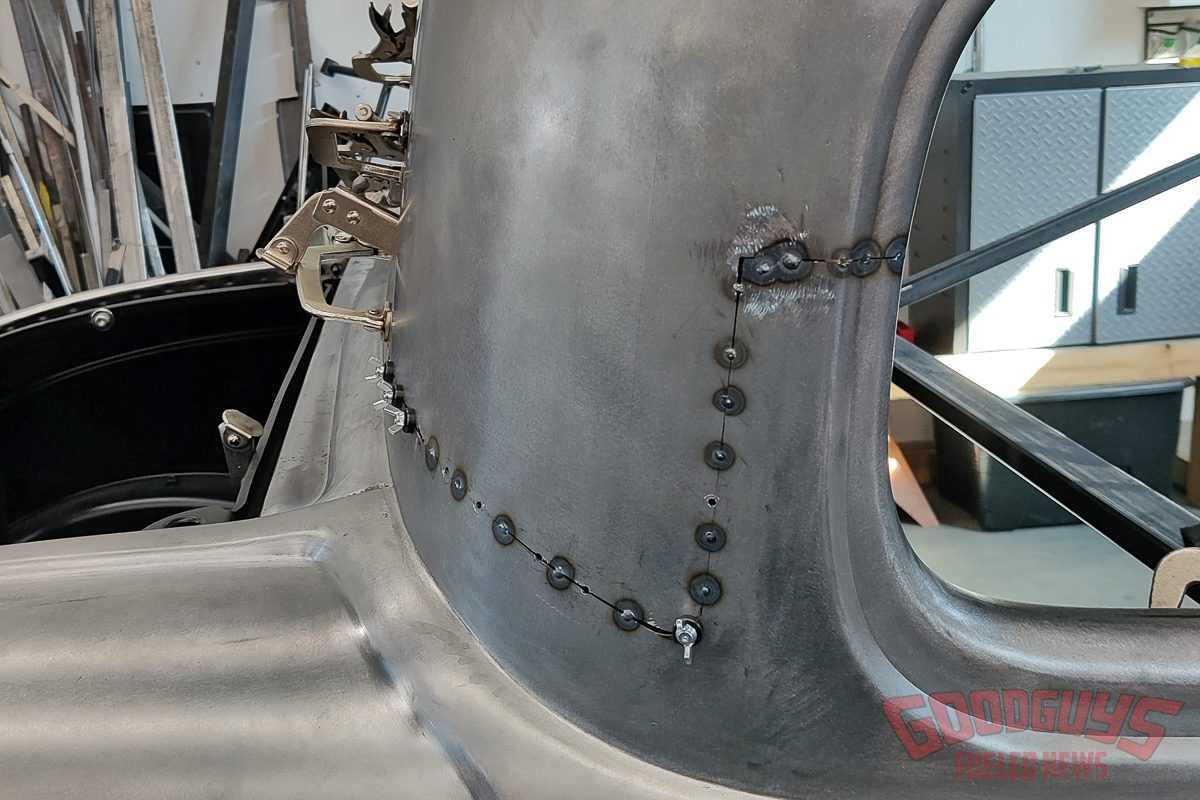
After confirming the fit was where he wanted it, Donnie tack welded the seams to secure the roof in place.
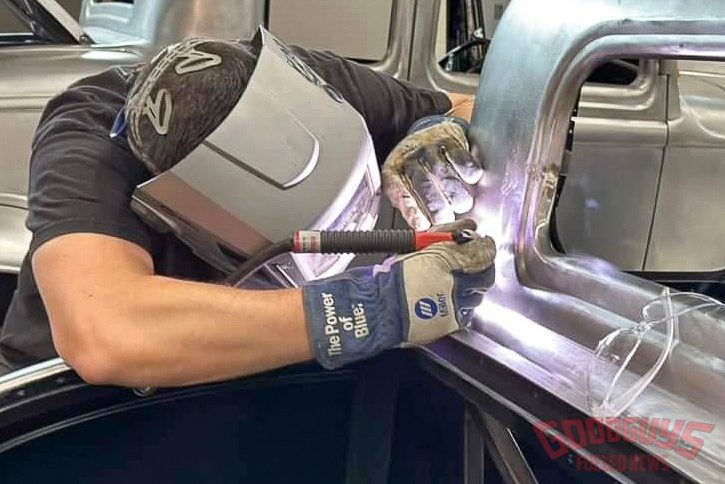
Fit, measurements, and overall appearance were double-checked before Donnie began final welding on any of the seams. The horizontal seam along the rear of the roof is the longest one with the most potential for trouble, so it was one of the first areas Donnie tackled.
As you see in these photos, Donnie’s thoughtful approach and careful execution resulted in a clean chop that avoided excess metalwork or significant alteration of the A-pillar or sail panel angle. Precision welding and metal finishing made the work performed virtually undetectable, even in bare metal, which is the sign of exceptional craftsmanship.
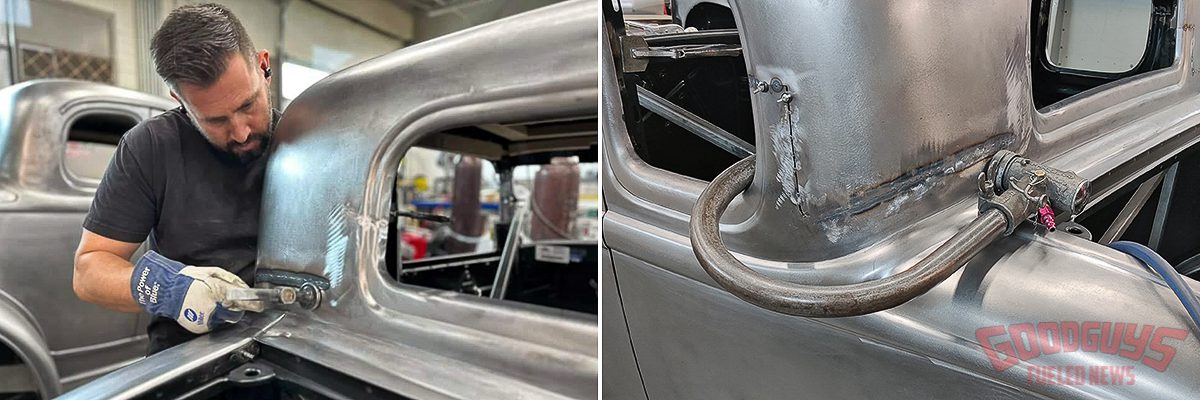
Hammer and dolly work on the TIG-welded seam, along with additional help from a portable pneumatic planishing hammer, helped to stretch the metal and correct any warping that occurred during welding.
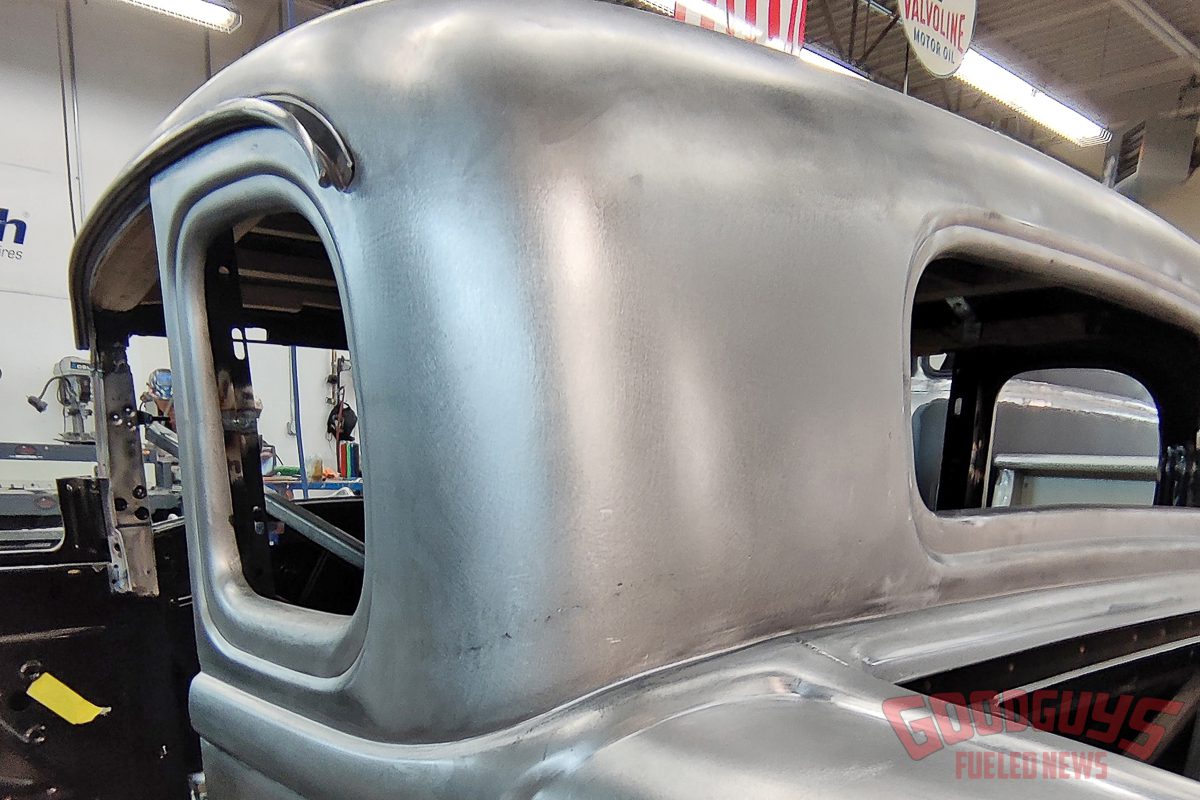
After metalwork was completed and the welds were ground and sanded, you could hardly tell there was a weld seam there at all.

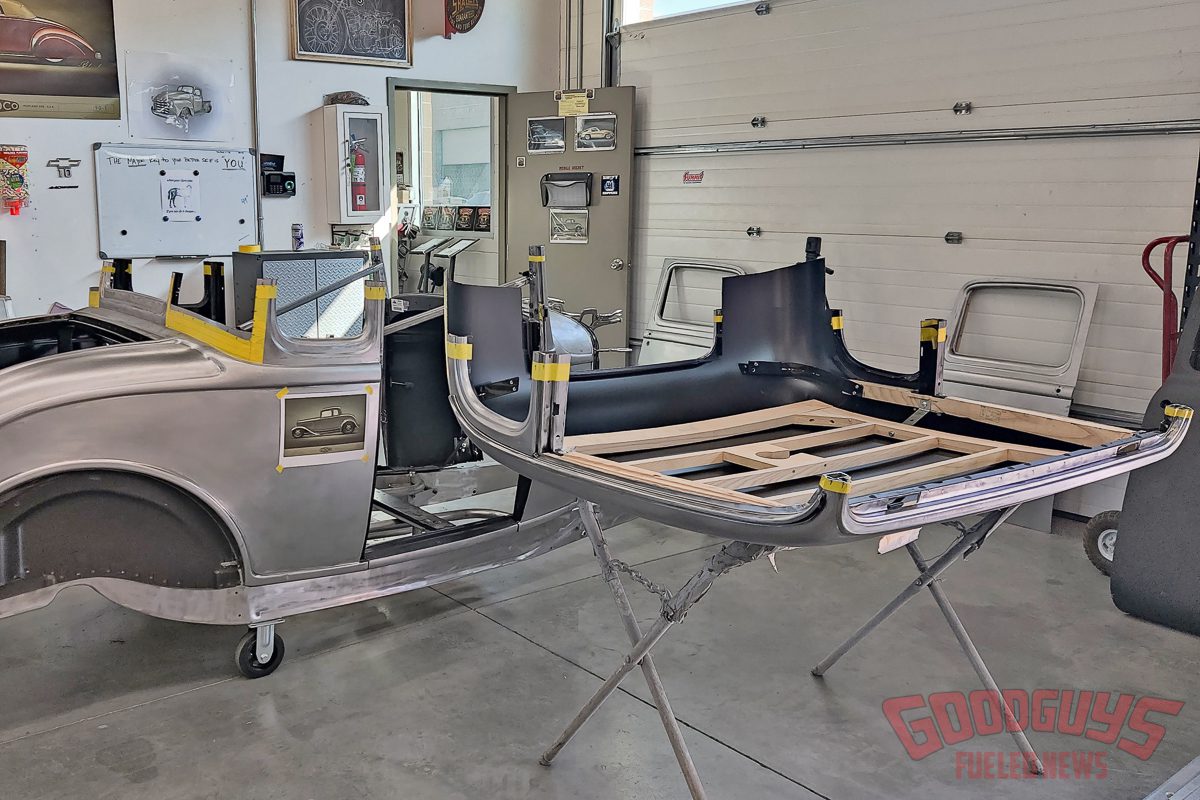
The door frames were chopped in a similar fashion. The tops were cut off a little lower than the cut on the B-pillar. With the main portion of the door installed on its hinges, the top piece could be held in place to confirm how much to cut for the best fit.
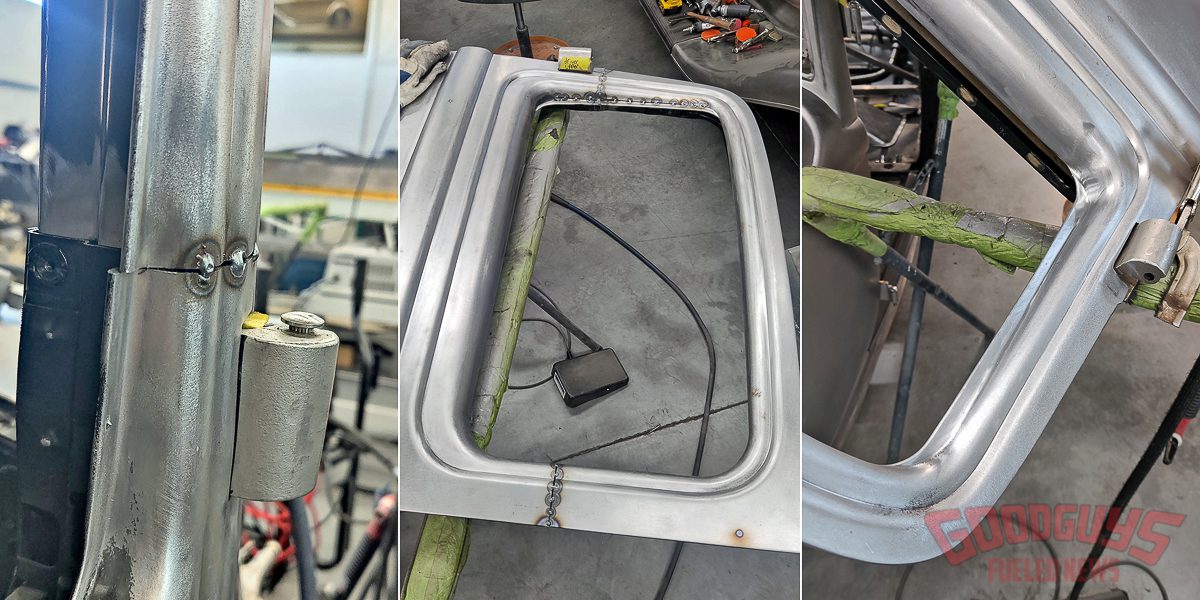
The door tops were then tacked in place while the doors were on the car. Then the doors were removed from the car so finish welding could be done on a separate work surface. Once again, finish metalwork was done to a level where you can’t even tell any work was performed.
If you’ve caught the first couple installments of this build, you already know that, in addition to the reproduction body panels from United Pacific, the coupe will also benefit from a custom chassis built by Johnson’s Hot Rod Shop, which we chronicled going together back in January. Other parts on the list include a 347c.i. stroker small-block Ford engine from Roush Performance, Borla stack fuel injection, Classic Wide Five wheels from Johnson’s Hot Rod Shop, a slew of parts and pieces from Speedway Motors, and many other top-notch elements. It will be fun to watch this Deuce come together, so stay tuned for more installments in the coming months!
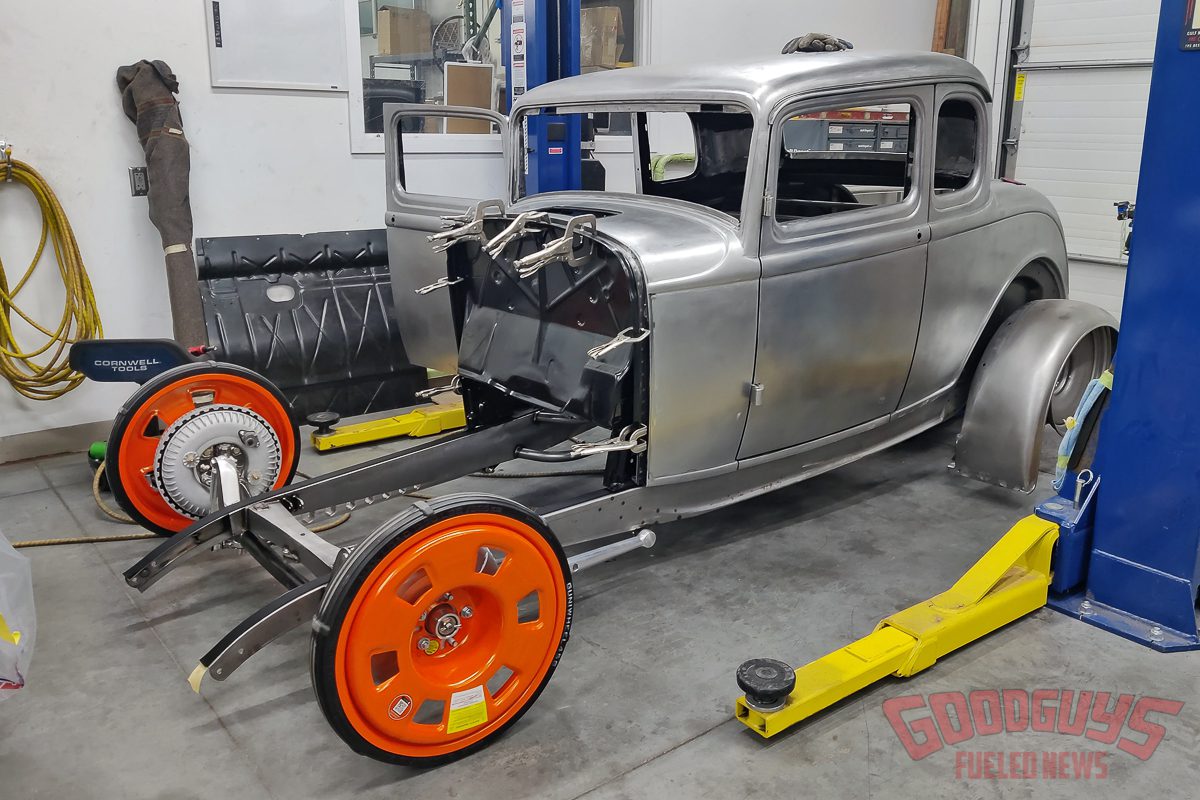
With the doors installed and the body cleaned up and set in place on the Johnson’s Hot Rod Shop chassis rolling on Guniwheel’s, you can see how good the chop looks. It’s a sneaky slice – one that not everyone will notice – but it’s one of the many details that will make this coupe a true standout.
Photos courtesy Streamline Custom Designs

