Bolt-In Clearance – Installing Slosh Tubz “Mild Tubz” in a Squarebody Truck
We showed you yesterday how the Goolsby Customs team fabricated a set of bitchin’ custom sheet metal inner fenders on the Goodguys 2021-22 Grand Prize Giveaway Squarebody Chevy truck. But there’s another option for solving the issue of front tire clearance on trucks like these – one that still looks good and can be installed with basic tools at home and a days’ worth of work.
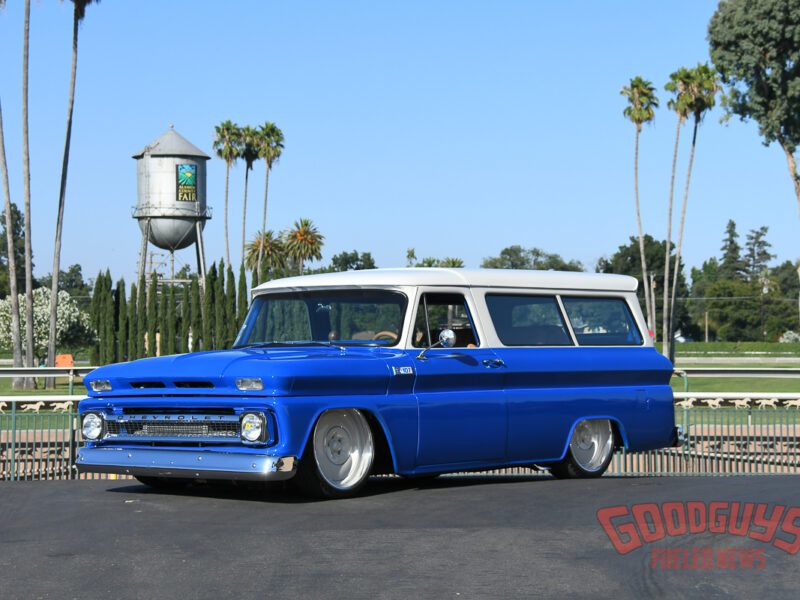
 Over the past two years I’ve slowly been upgrading, fixing, and adjusting my ’87 GMC Suburban in search of that “just right” static stance. Once I got the suspension to a position I liked, I ran into front wheel and tire clearance issues with the stock front inner fenders and 20-inch wheels. This is a common problem when lowering these trucks – common enough that enthusiast Mike Losh at Slosh Tubz has developed a line of custom fiberglass inner fenders (for Squarebodies and a wide range of other trucks) to solve the issue.
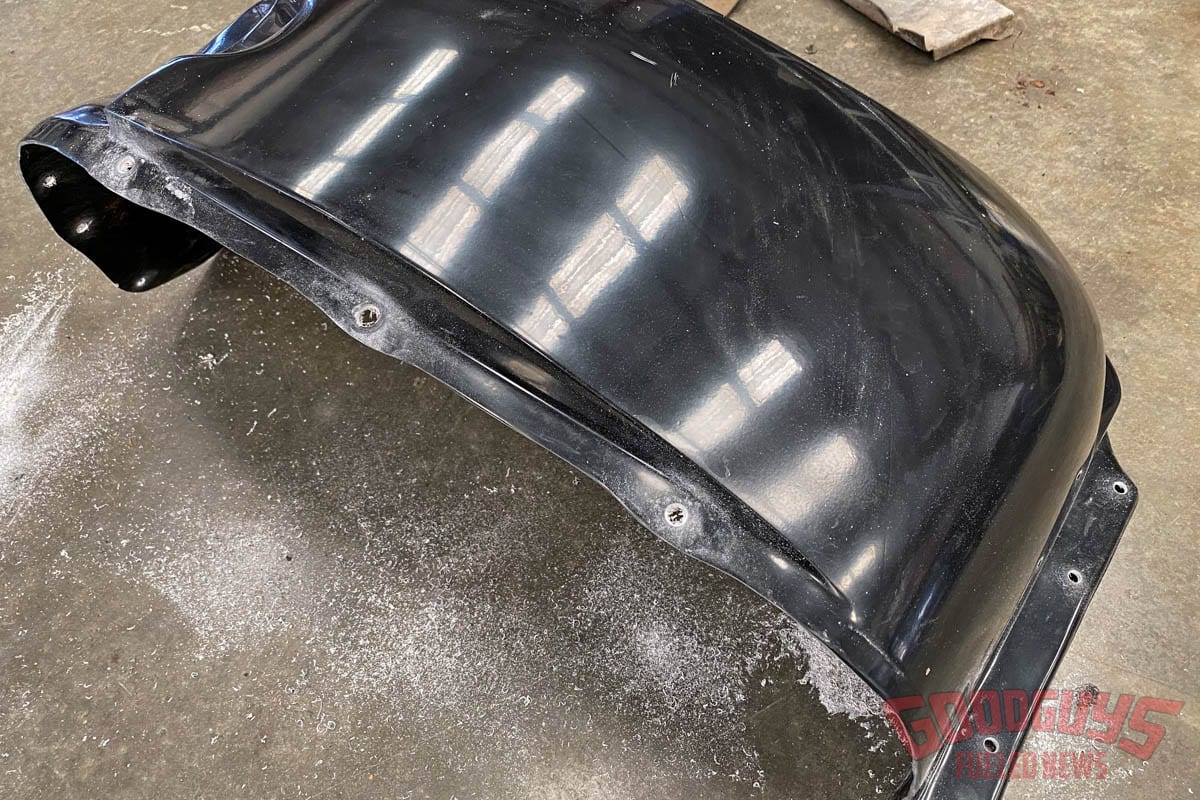
At the Goodguys LMC Truck Spring Lone Star Nationals event in March, I decided to take advantage of Slosh Tubz’s show special pricing and bought a set of “Mild Tubz.” These inner fenders have an OEM-style look and the company offers a version designed to work around my factory A/C system. (Wider Slosh Tubz are available for trucks with air springs and even wider wheel-and-tire combos.) I also bought the Slosh Tubz battery relocation bracket (a must have), as well as the sheet metal inner fender filler panels to clean up my engine bay a little bit.
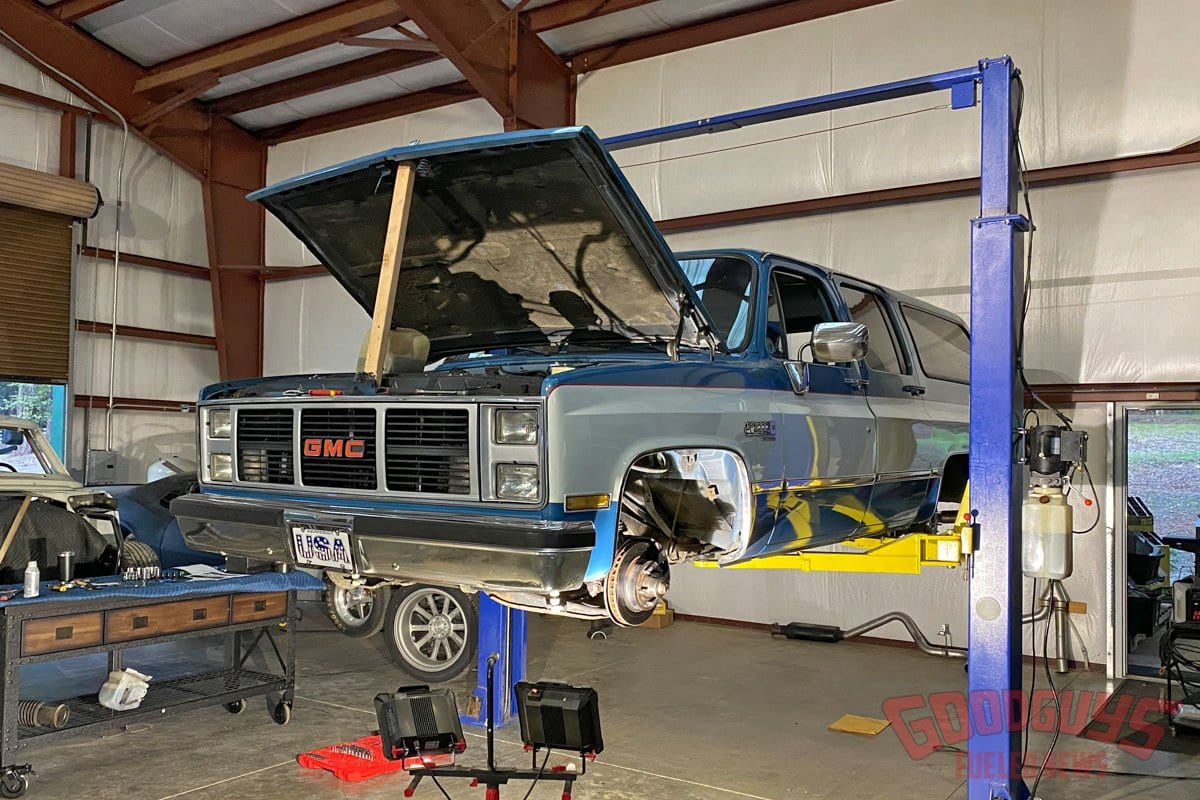
Once everything arrived home from Texas to California (shout out to Goodguys member Deane Wilson for bringing it all home for me in the back of his ’61 Ford Wagon), I went to my dad’s shop and commandeered his two-post lift for a day and got to work. I break down the step-by-step installation process below, along with some tips I learned along the way.
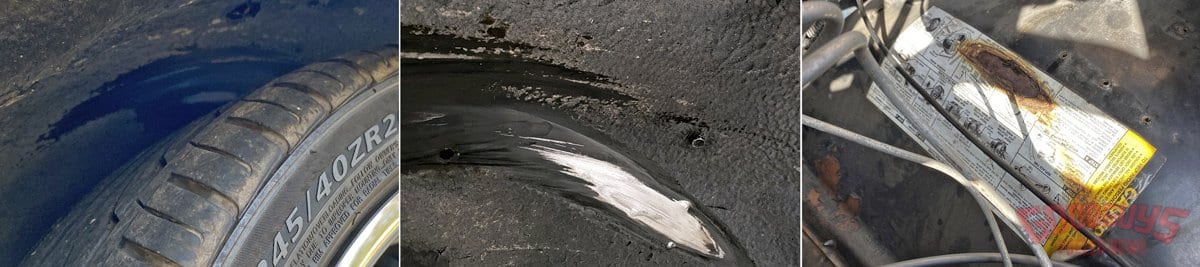
As you can see, my clearance issue was on the inner side of the tire on both the driver and passenger sides.
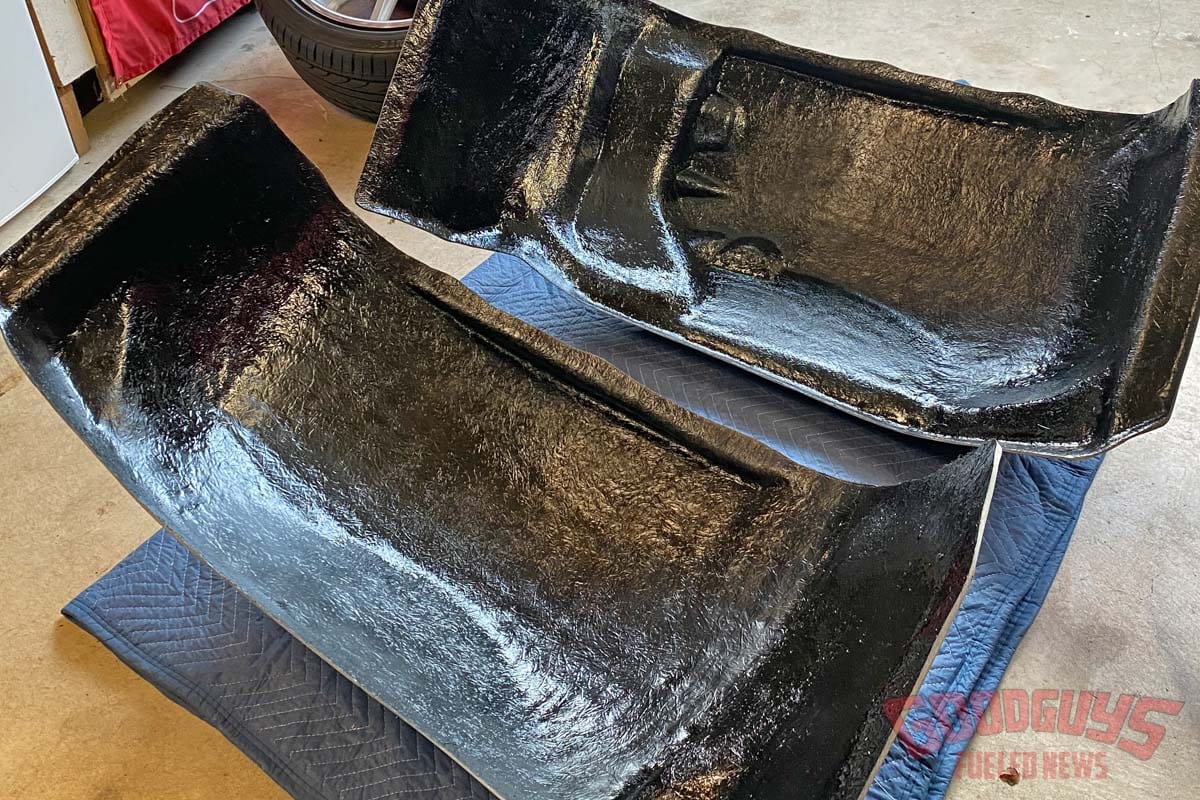
Slosh Tubz are made from fiberglass and only the top side is gel coated. I chose to hit the inside with some black spray paint, but you can also work the inside to a smooth finish for a cleaner look.
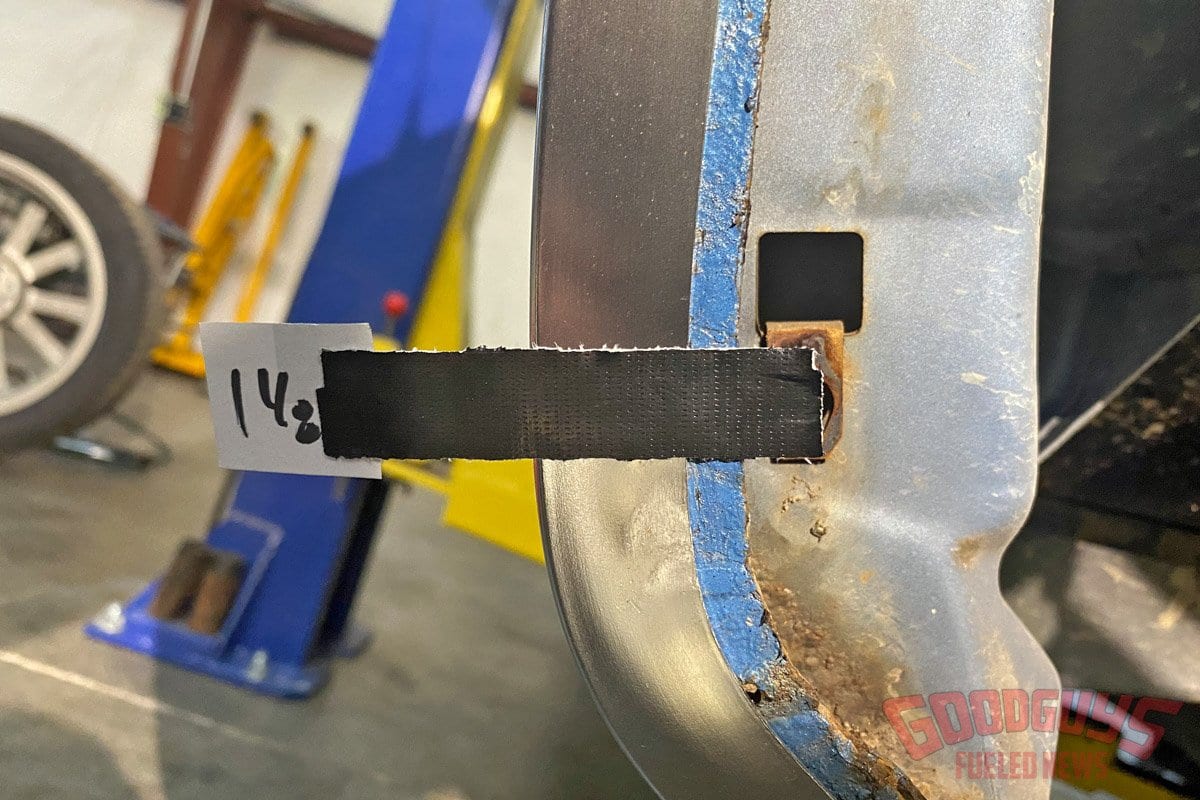
The first step is to remove the old inner fenders. After 30-plus years of road grime, some of the bolt heads were hard to find, and all of them needed to be cleaned with a hand chisel to get a socket firmly in place.
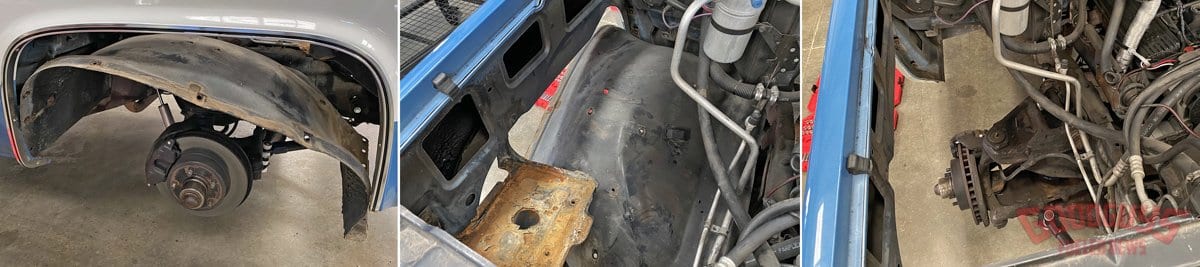
You will also have to remove the stock battery mount, radiator overflow, windshield washer fluid canister, and anything else mounted to the factory inner fenders. Once everything was removed the stock inner fenders will easily drop out the bottom through the wheel opening.
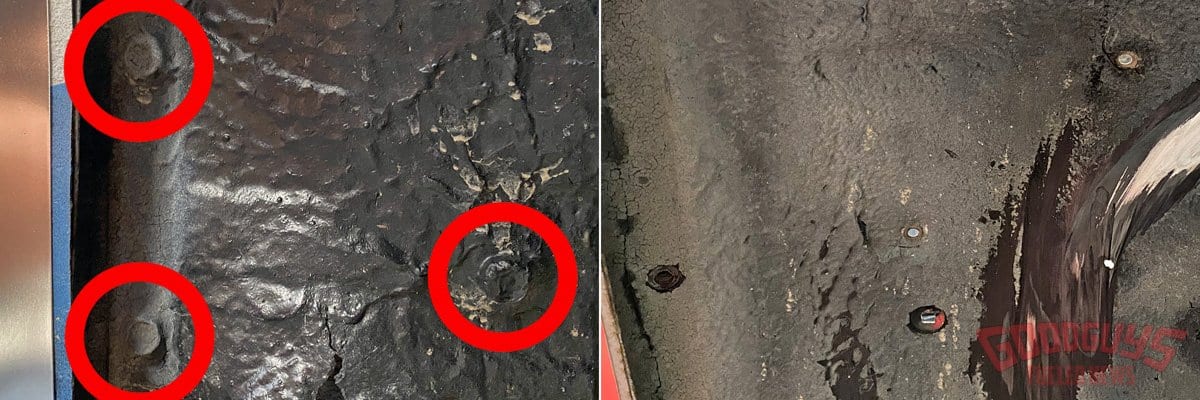
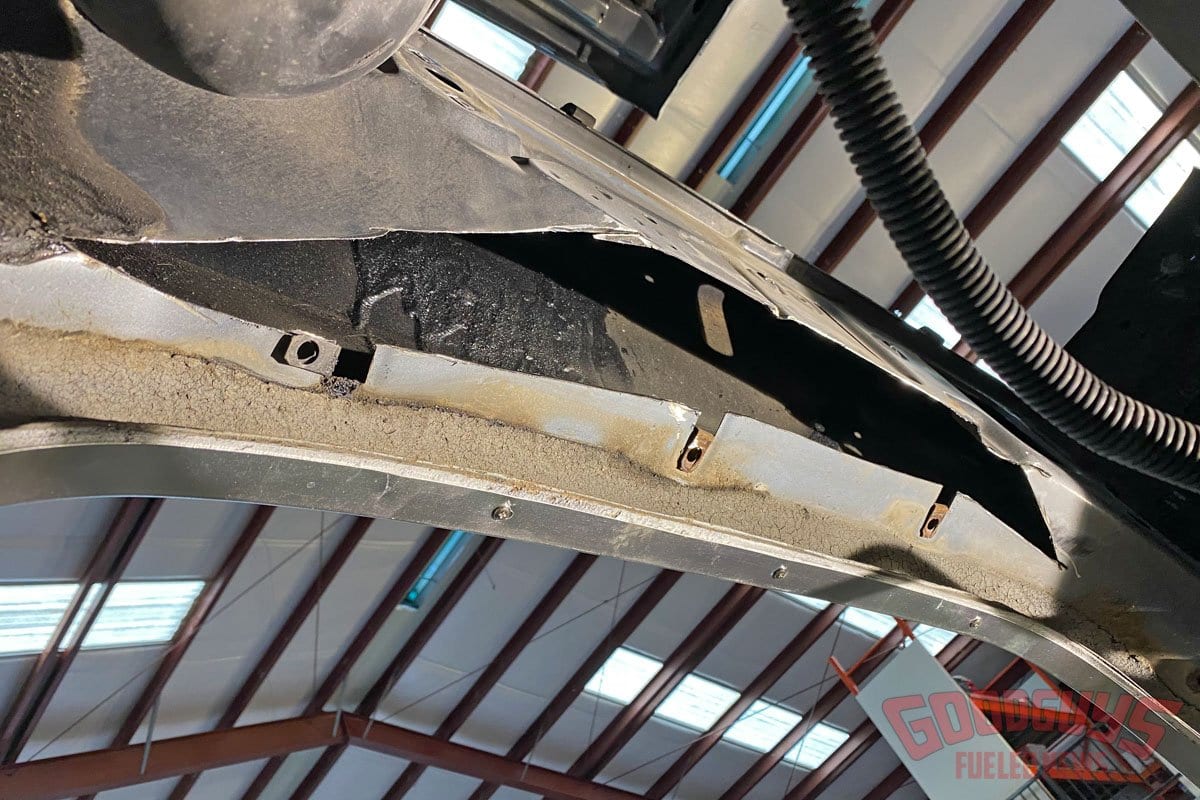
The factory J-nuts along the lip of the fender will be used for the Slosh Tubz final install. Take your time on this step to get accurate measurements to locate the holes on the Slosh Tubz. I pulled a tape measure from the outer fender lip in a level line to the center of the J-nut and marked each measurement on a piece of paper. You will need this measurement reference at a later step.
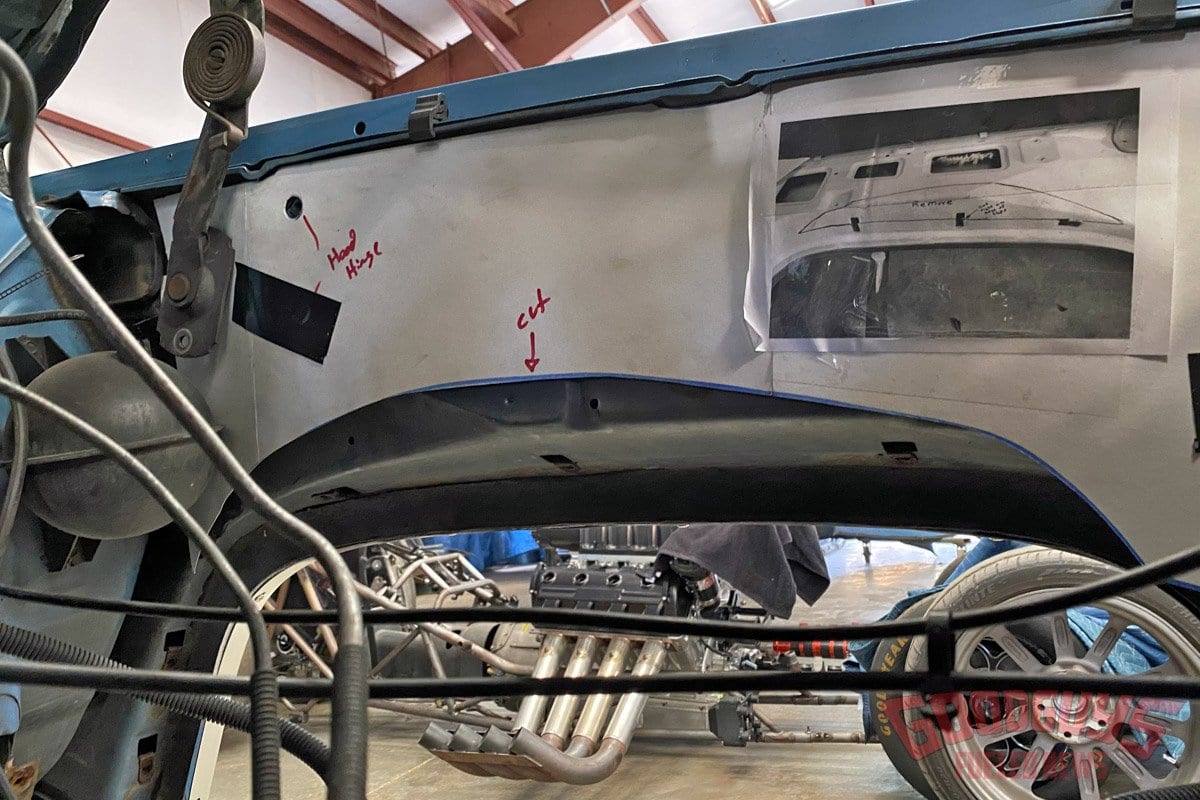
Slosh Tubz provides a cardstock paper template to remove a section of the inner front fender to accommodate the new tubs. You’ll need to prop your hood open and remove the lower hinge bolts. The template uses the hinge bolt location as a starting reference.
Once your cut line is traced, take a cutoff wheel and carefully make your cuts. I erred on the side of caution and made the lower cut long. I went back and used a flap disc on a grinder and removed more material on the lower cut to where the it was a straight line along the edge of the J-nuts.
Once the tubs were able to slide into place, I referenced my measurements and drilled 1/8-inch pilot holes. Once all pilot holes were confirmed to be drilled in the correct location, I opened each hole for the 5/16 bolts.
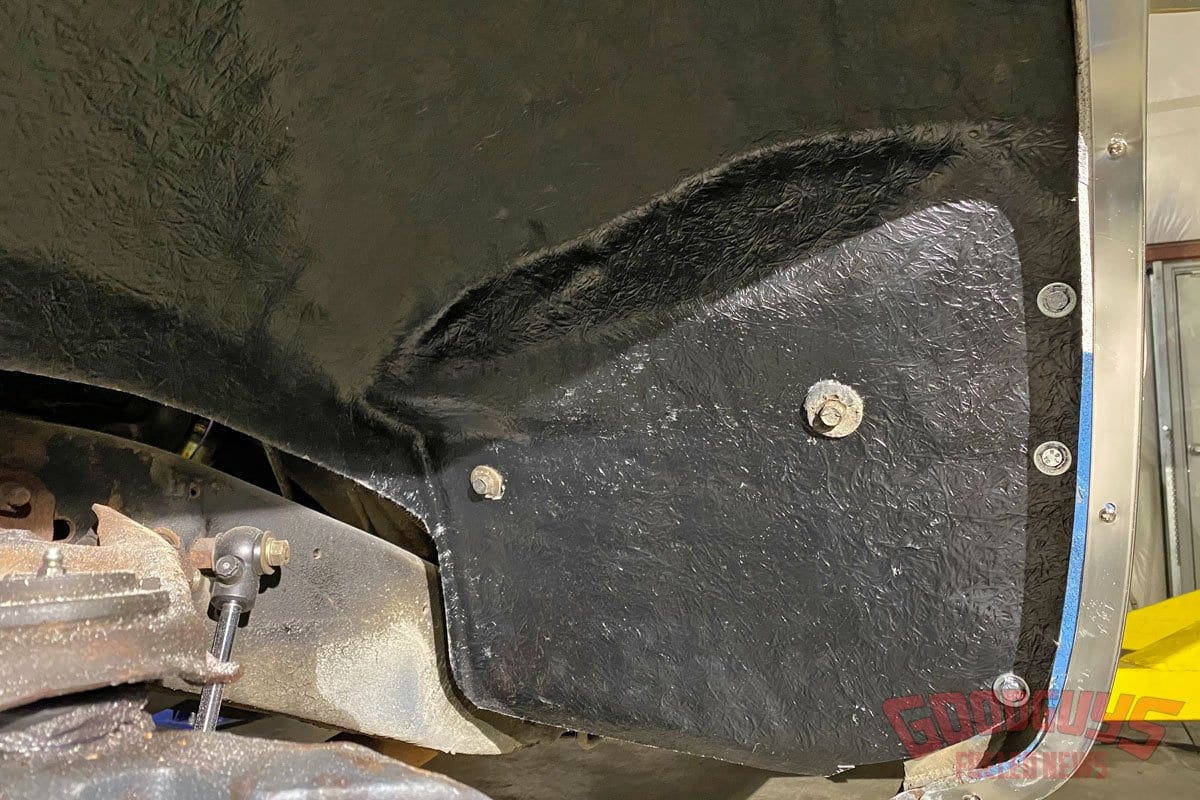
You will need to purchase longer 5/16 bolts (I went with 1½-inch) and washers for the new install as the Slosh Tubz are thicker than the stock ones. I needed new bolts for all mounting locations except for the two larger bolts in the middle of the tub seen here.
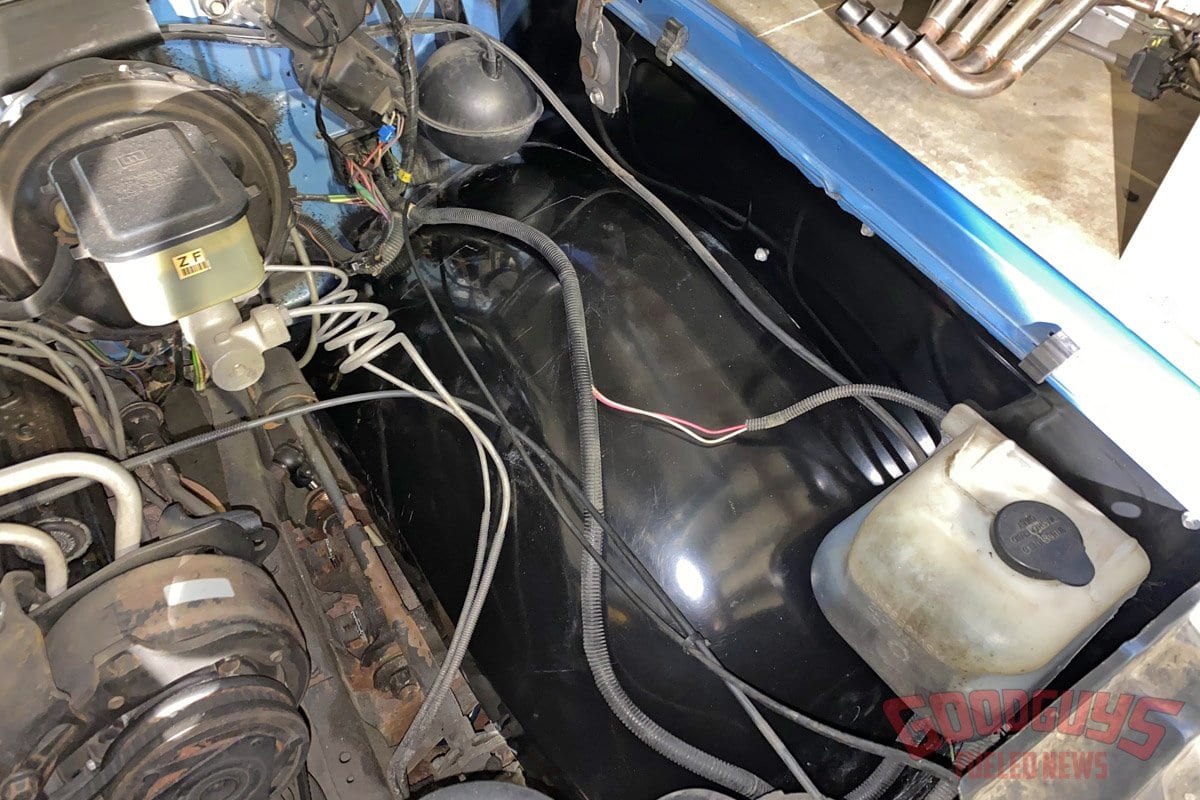
With the new tubs in place, as well as the sheet metal inner fender fill panels I had powdercoated black, I started re-mounting items such as the windshield washer canister, radiator overflow, etc.
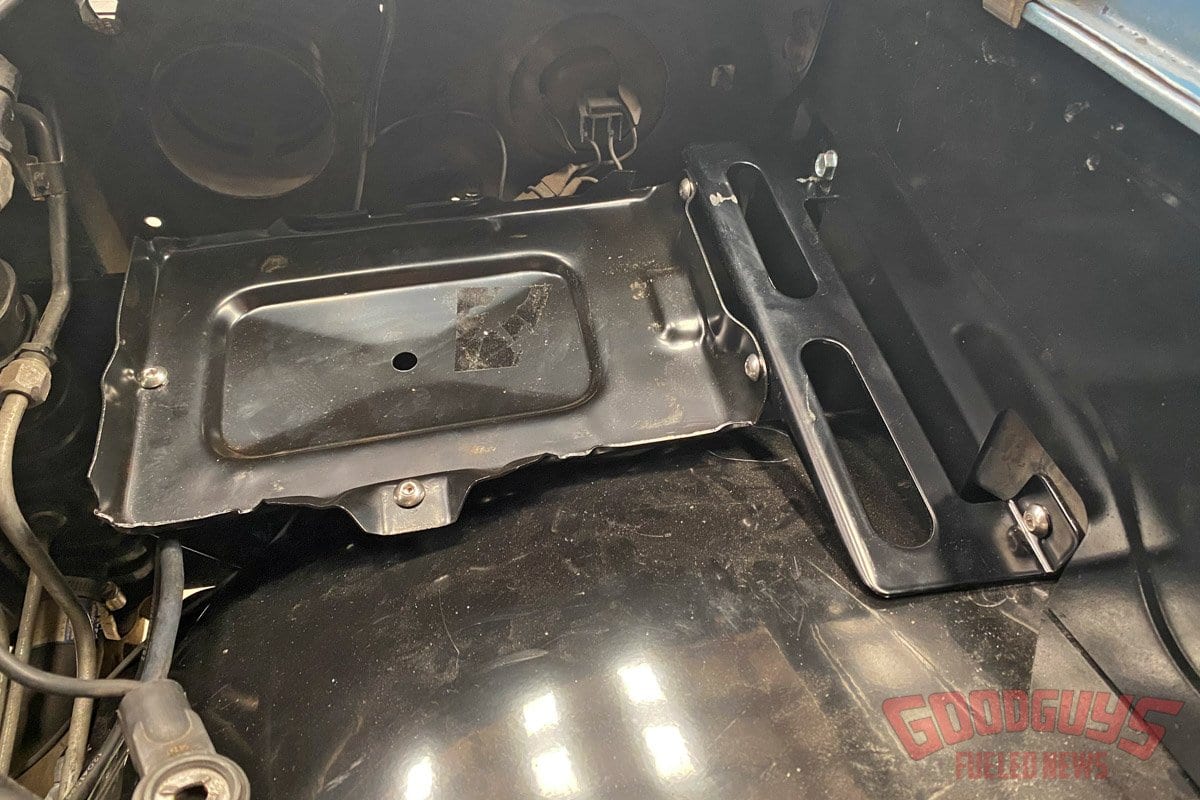
As referenced in the opening paragraphs, the Battery Relocation kit Slosh Tubz sells is a must if you are currently using the factory battery mount location. The new mount will use the two factory battery mount hole locations, but it turns the battery 90 degrees and adds another mounting point to the bottom of the core support.
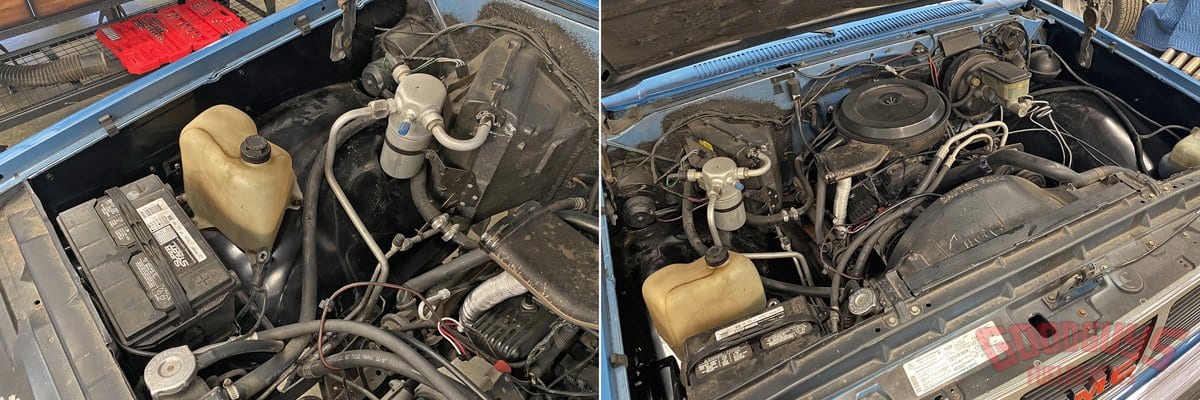
All done – it’s not a “pretty” engine bay, but the Slosh Tubz cleaned it up a lot and provide ample clearance for my front wheels now.
I had the luxury of having a two-post lift available to me, but this entire process can be done with a set of stable jack stands.
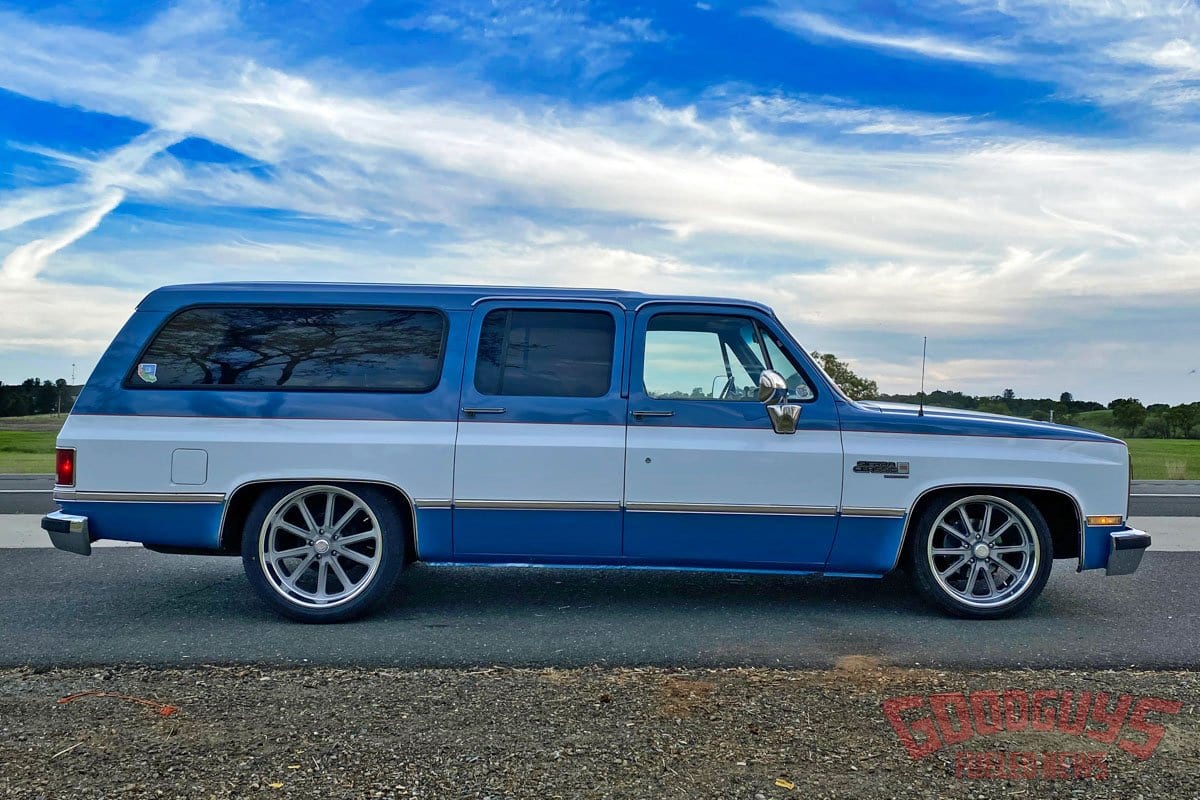
These old trucks weren’t engineered to be low…but they sure look good when they are!
Photos by Steven Bunker | Lead Image by Brett Macadam