Refresh & Renew – A Benchtop Carb Rebuild to Prepare for Cruising Season
It’s funny how some of the things we didn’t think twice about doing when we were young can seem more intimidating later in life. For many rodders and car enthusiasts who came of age in the pre-EFI days, basic automotive tasks like replacing ignition points, setting valve lash, or a carb rebuild were fundamentals we learned in our teens. However, if we haven’t revisited those procedures for several decades, they can feel a little foreign now.
At least that was the case when I recently set out to rebuild a carburetor. It was an old swap meet score with an uncertain history that had been sitting on a shelf for more than 15 years, so it only made sense to go through it before putting it to use. Fortunately, much like riding a bike, the rebuild process was fairly straightforward and simple, and felt pretty familiar once I dug in. Like anything, you just need to follow instructions and take things one step at a time.
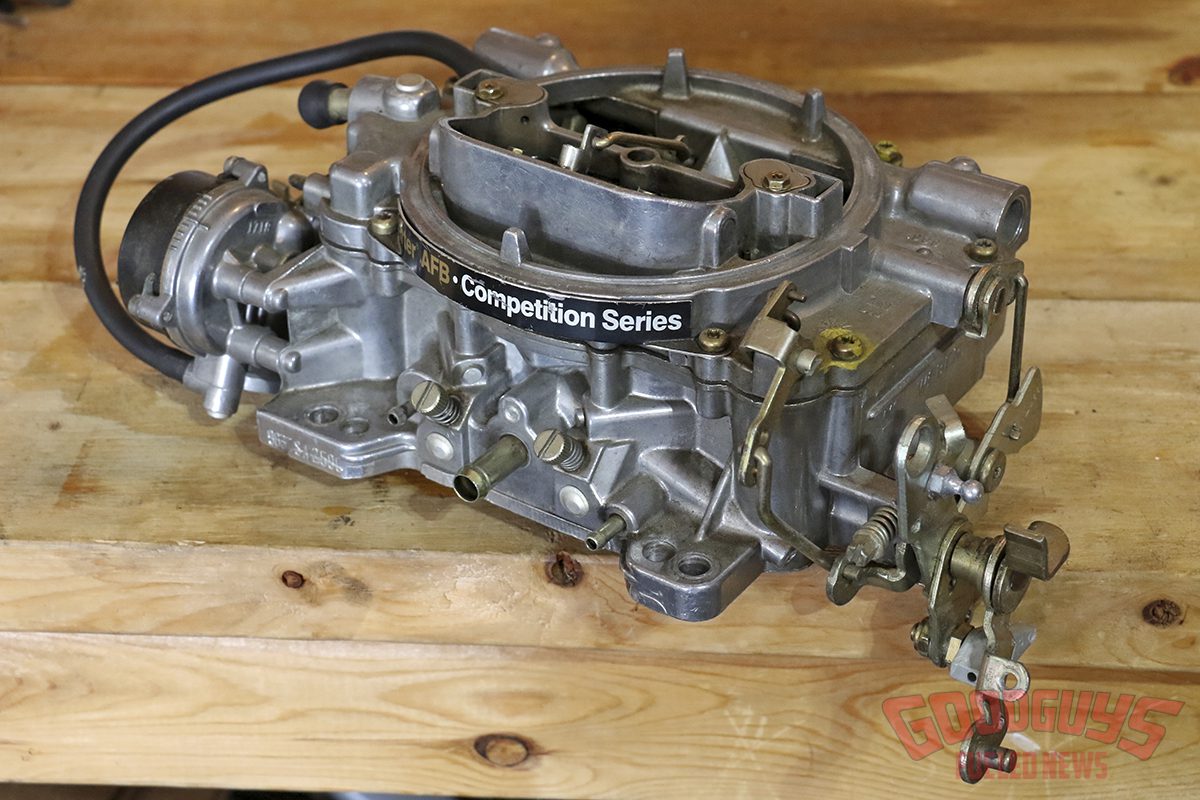
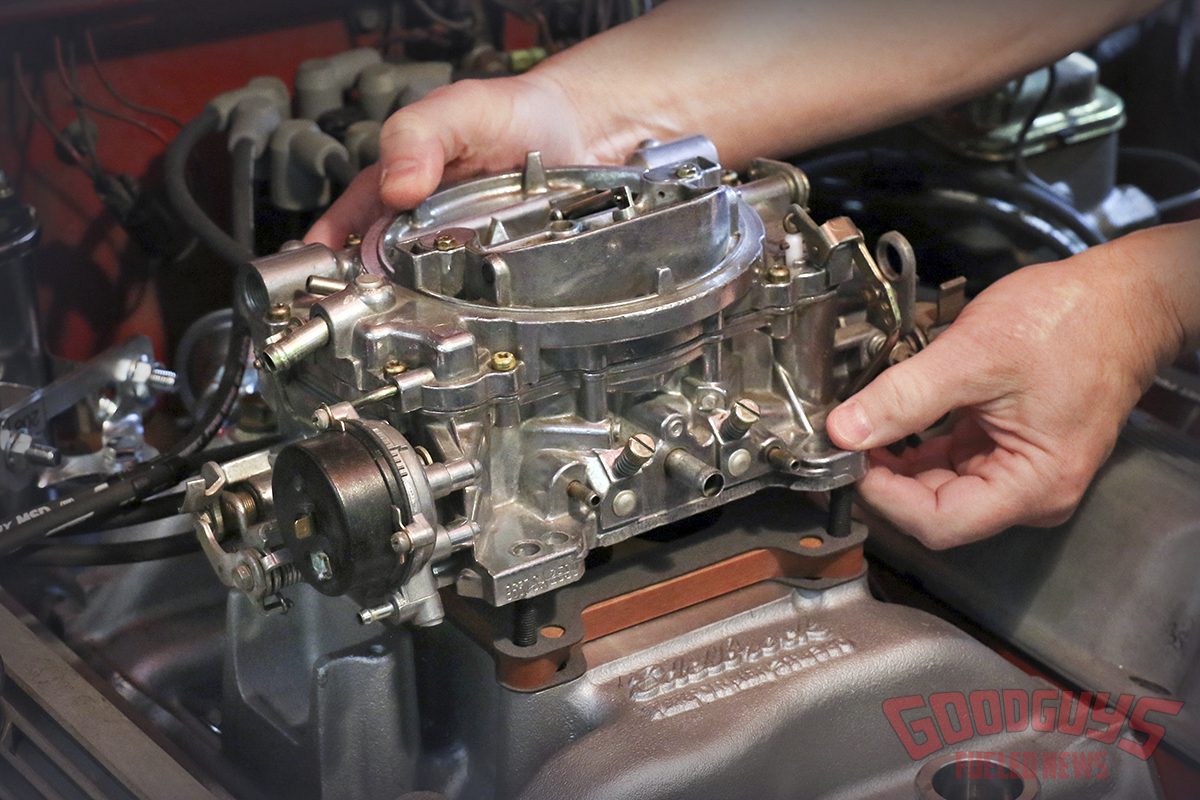
Our carb rebuild subject was an old Carter AFB purchased years ago at a swap meet. The precursor to the Edelbrock Performer, the carb is a well-proven design that’s simple to rebuild and adjust.
It helped that the subject at hand was an old Carter AFB – or Aluminum Four Barrel – a simple design that dates back to the 1960s. It was later the basis for the popular Edelbrock Performer – in fact, the rebuild kit came from Edelbrock. One nice thing about this carburetor design is its lack of vertical gasket surfaces, which helps minimize potential leaks. Primary metering is done with a jet and a vertically mounted needle suspended by a spring; the needle is raised and lowered into the jet (thereby adjusting fuel flow) based on engine vacuum. The metering rods and springs can be changed without taking the top off the carburetor, which simplifies some tuning processes.
One of the main goals of any carburetor rebuild is to thoroughly clean all the parts, removing carbon deposits, old varnished fuel, and general grime that can plug air and fuel passages and hinder performance. The carb rebuild kit consisted of fresh gaskets and a few wearable parts, like needles and seats. Thankfully, it also came with a selection of those little linkage retainer clips to replace the originals that often disappear during disassembly. Having instructions – and an exploded diagram of the carb – was helpful, but I still took reference photos during disassembly to help as needed when I put things back together.
As long as we’re talking carburetors this month, I thought it made sense to share some highlights of this carb rebuild. It’s a good reminder of one of those simple tasks most of us can tackle at home, and maybe it will inspire you to freshen up your fuel meter.
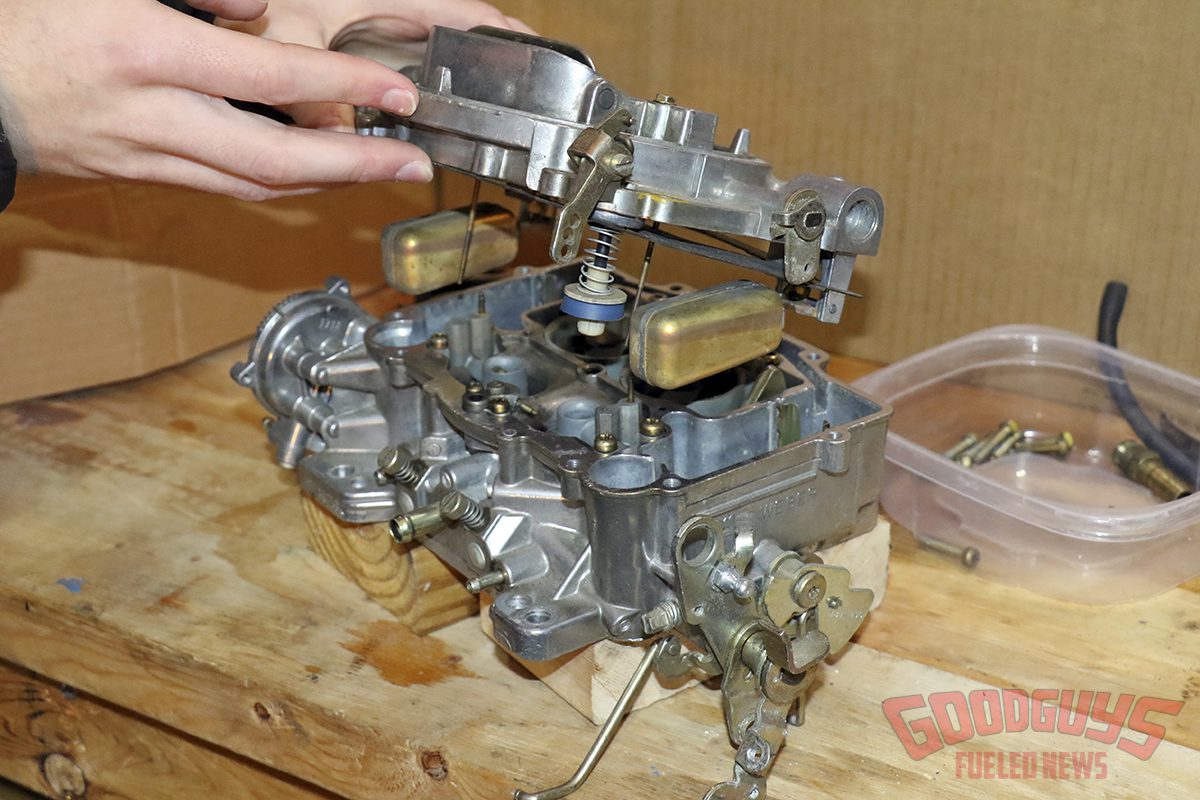
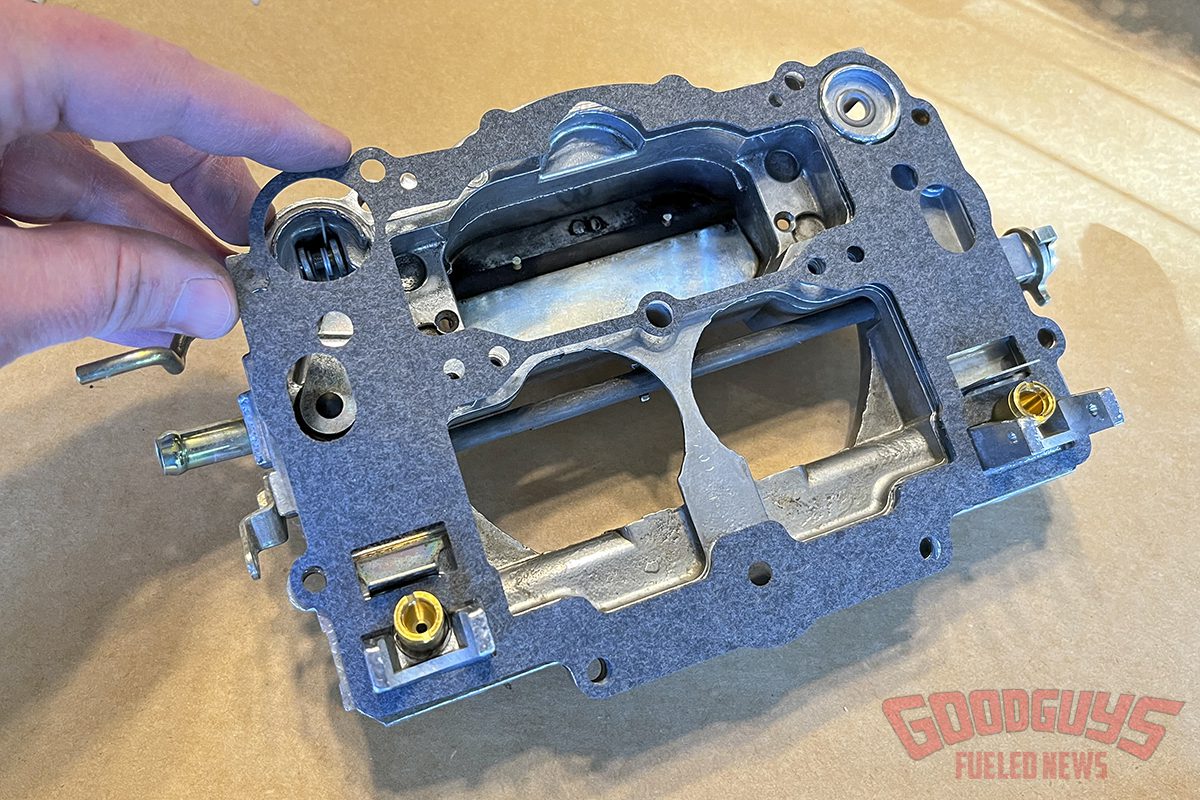
Removing eight screws was all it took to remove the top, also called an air horn. Note our plastic container to hold the fasteners and small parts we removed. We also took cell phone reference photos to help us later.
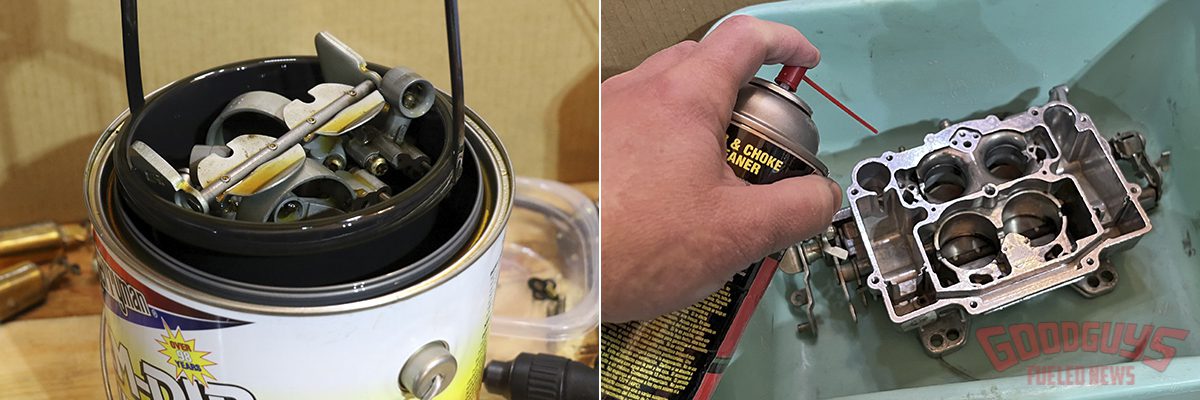
Getting everything clean is a primary goal. Small parts like the venturi assemblies were cleaned in a chemical dip canister (available at most auto parts stores). The main body and air horn were soaked in a tub of solvent to loosen up carbon deposits. Some spray carb cleaner helped with more stubborn spots.
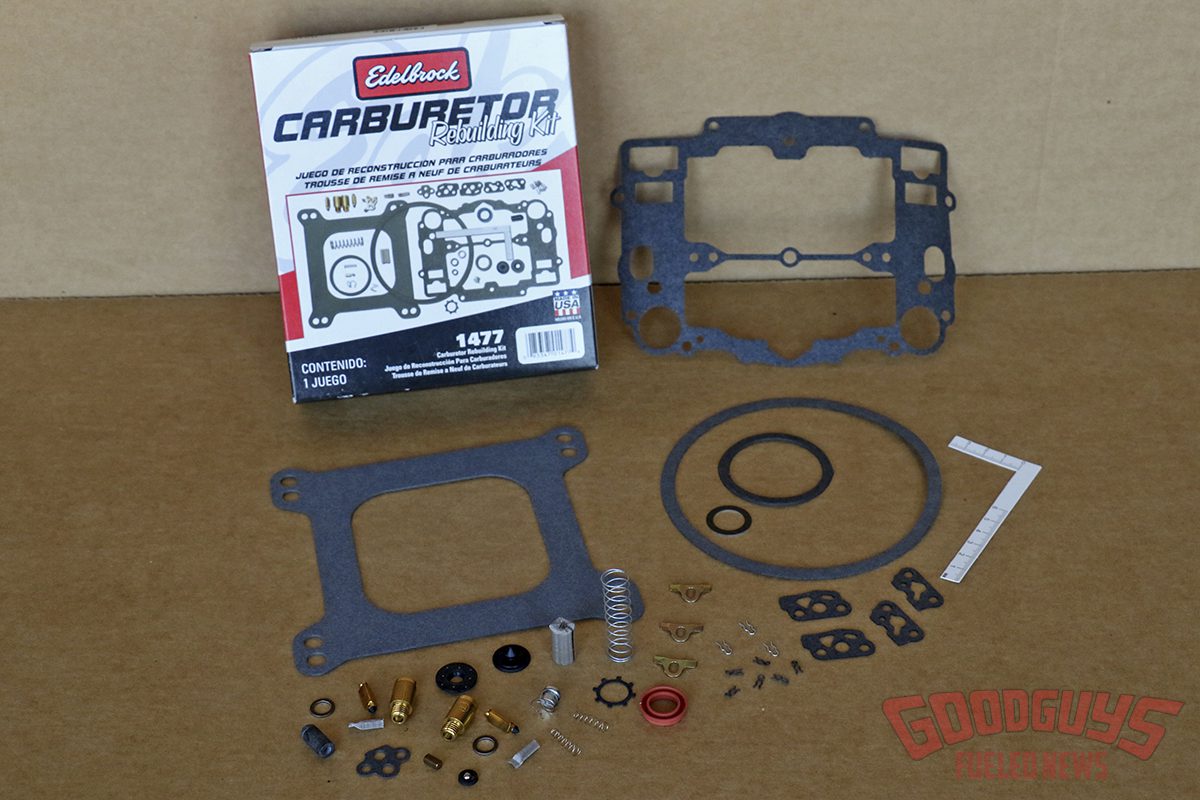
The rebuild kit included fresh gaskets, small wearable parts (needle and seat, pump discharge weight, etc.), and some small fasteners and other commonly replaced hardware.
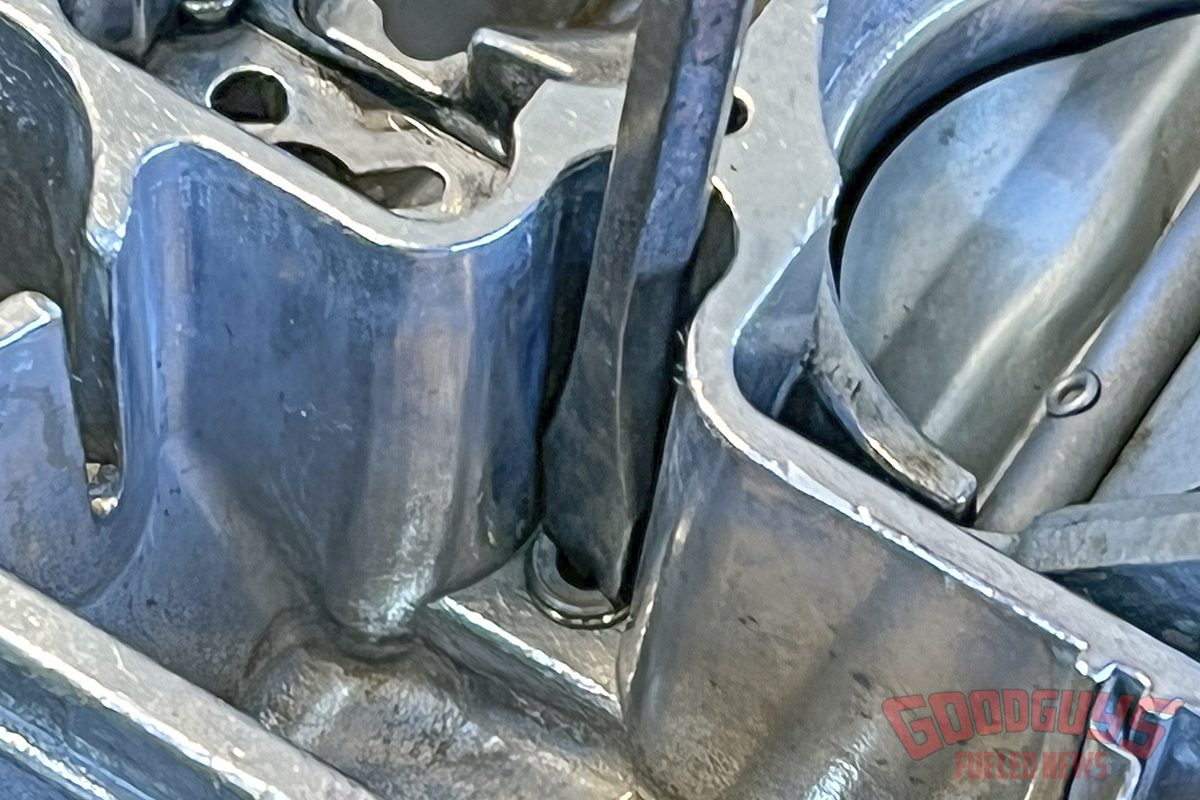
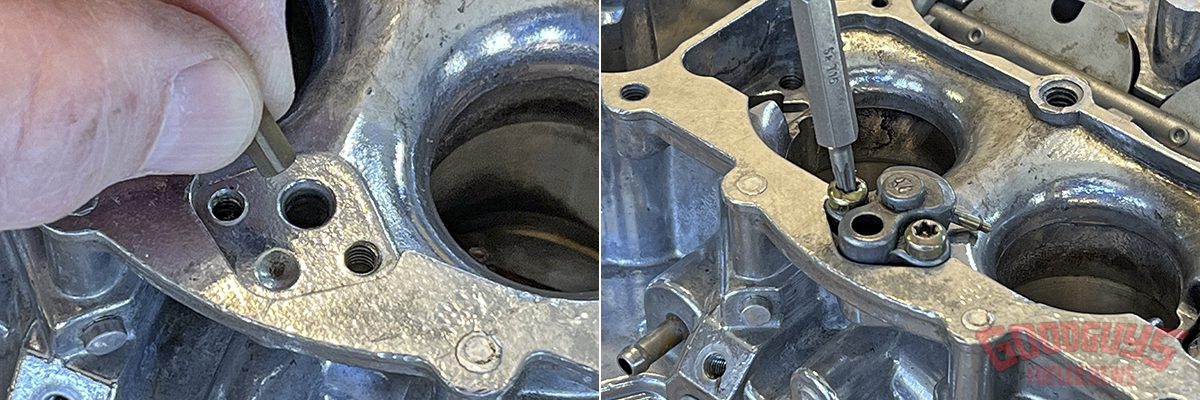
While we did not replace the jets, we did remove, clean, and inspect them.
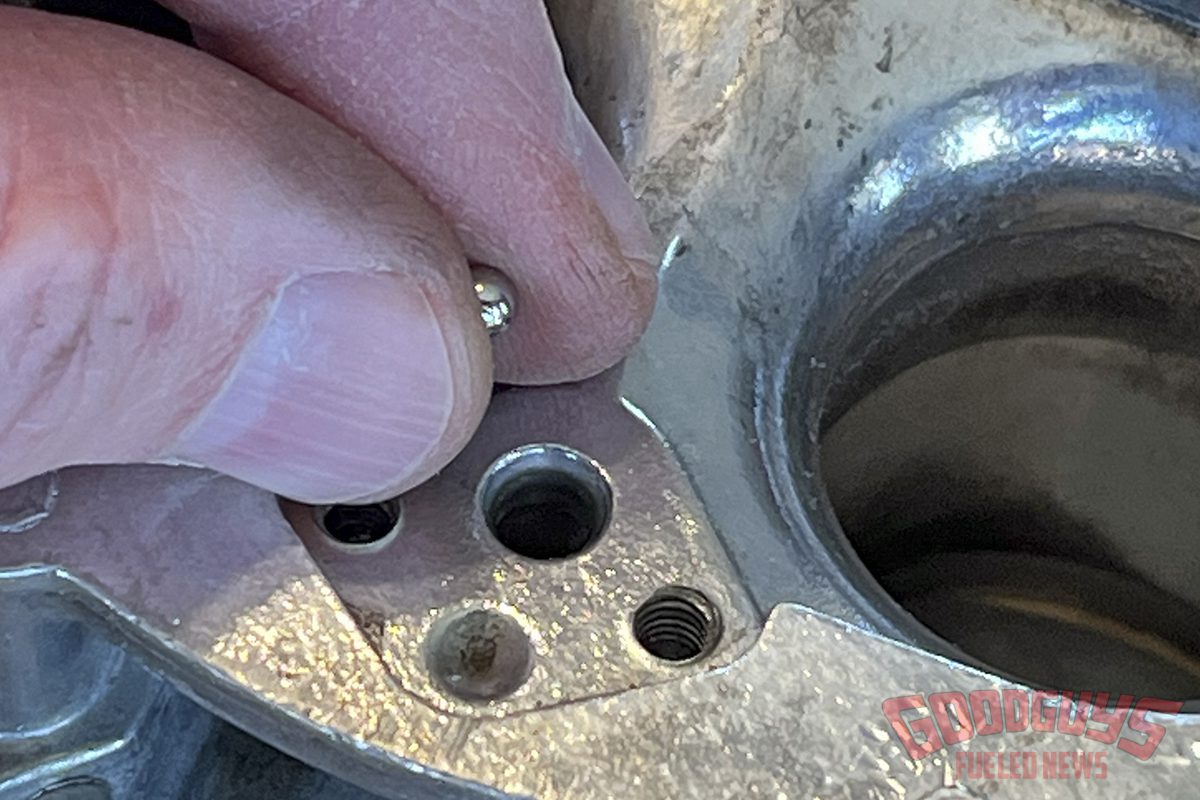
A new pump discharge ball, weight, and gasket were installed before screwing the cleaned pump jet housing back into place.

New gaskets from the rebuild kit were also used on the four venturi assemblies as they were screwed back in place.
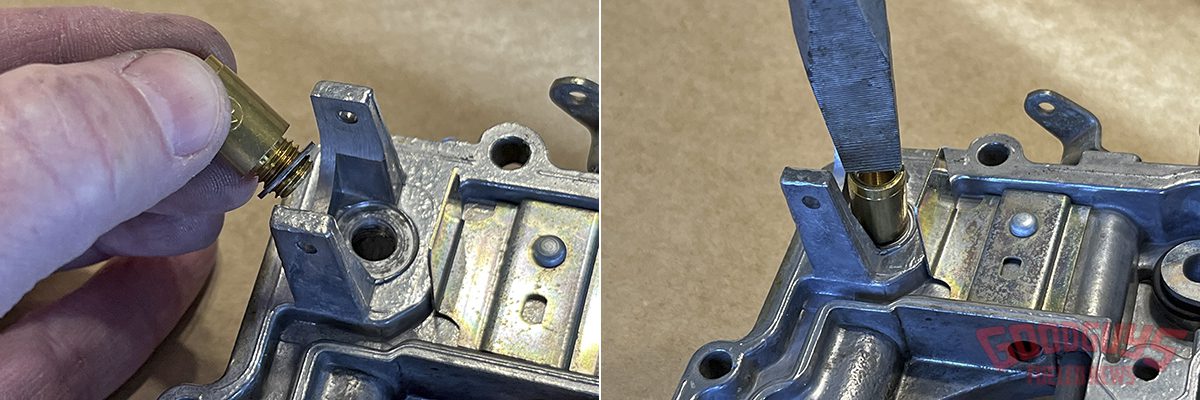
The rebuild kit came with a new accelerator pump spring and plunger, but we ended up buying a new accelerator pump assembly, which is readily available.
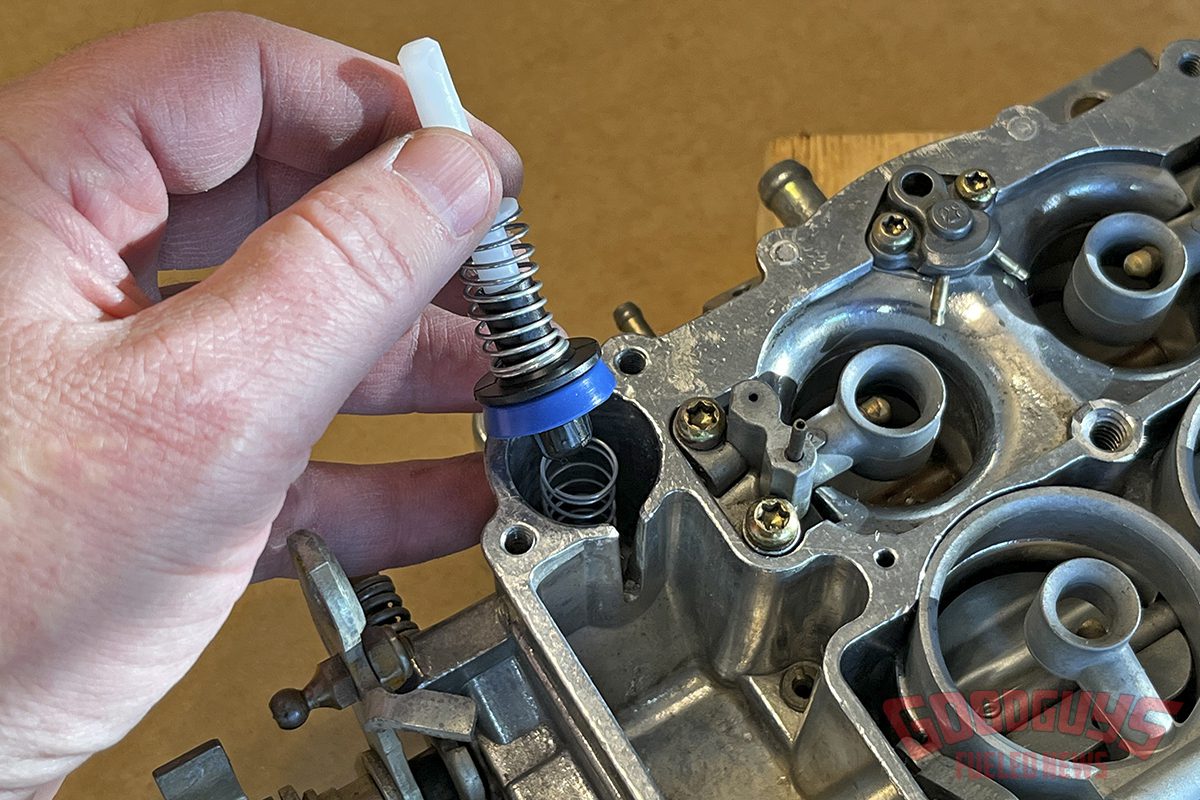
Moving to the top (air horn), we installed the new brass seats (with supplied washers) for the needle-and-seat assemblies, plus a new gasket to seal the air horn to the main body.
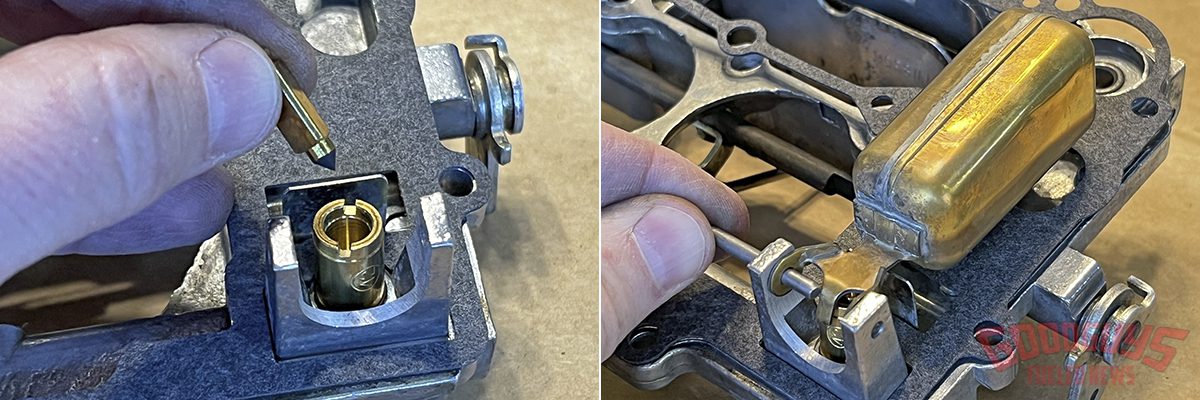
The new needles then dropped into the seats, and the floats were attached using their original pins.
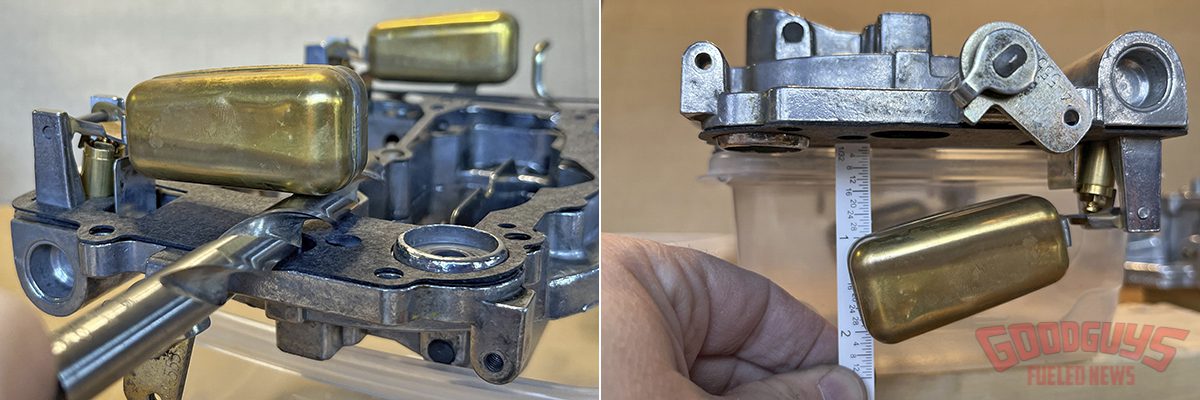
Following the rebuild instructions, we used a 7/16 drill bit to check and set the float level, and the supplied measuring square to check the float drop level. Levels can be adjusted by carefully bending the tab on the float lever.
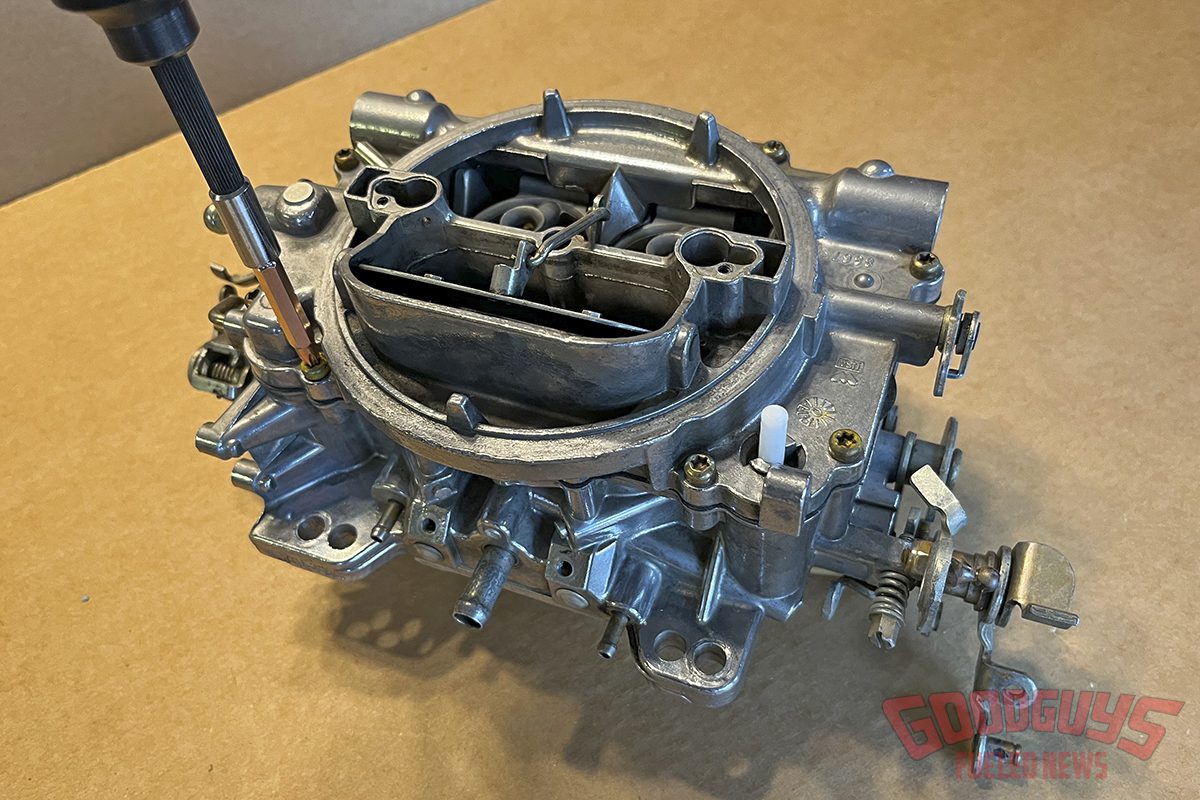
The air horn assembly was then set back in place and secured using the eight attaching screws.
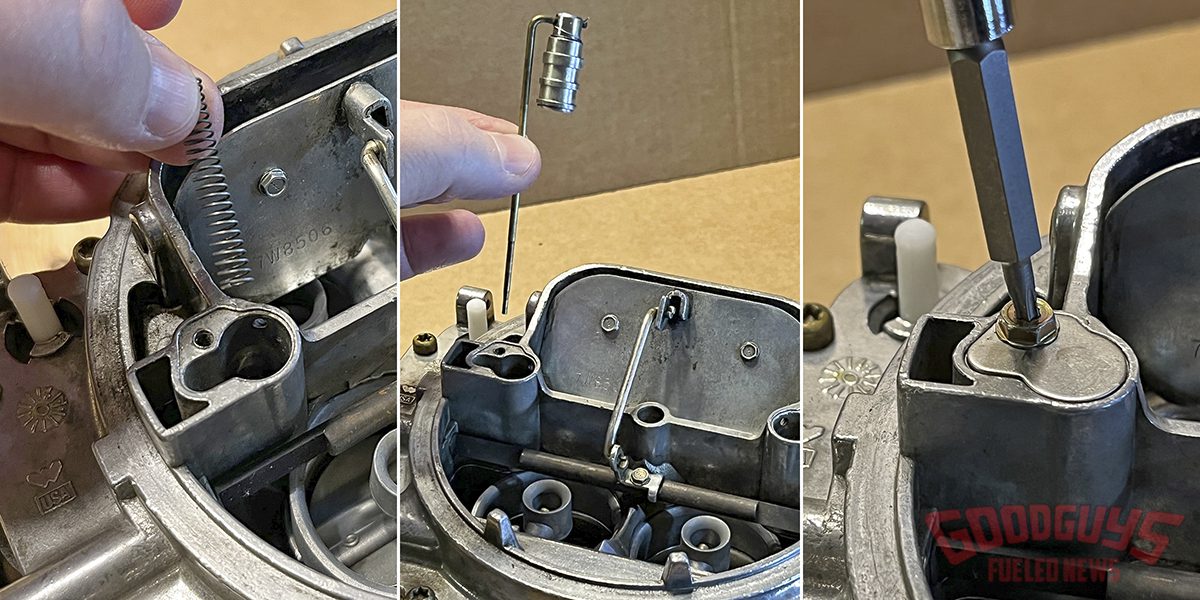
The two step-up piston springs, step-up pistons, and metering rods (which connect to the pistons with retainer springs) were then slid back into their shafts in the air horn and secured with cover plates.
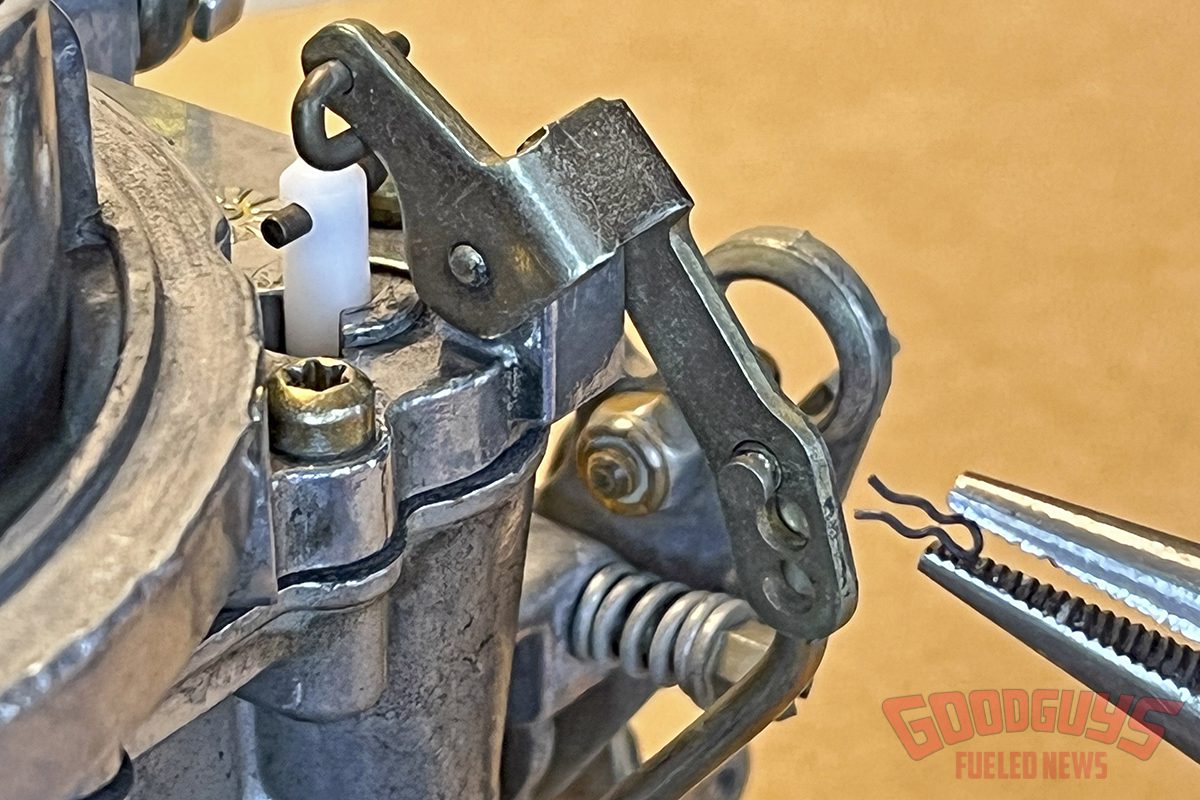
We were thankful to have a few reference photos to consult when re-attaching the various pieces of linkage, like the accelerator pump arm and linkage. It was also helpful to have new clips from the rebuild kit.
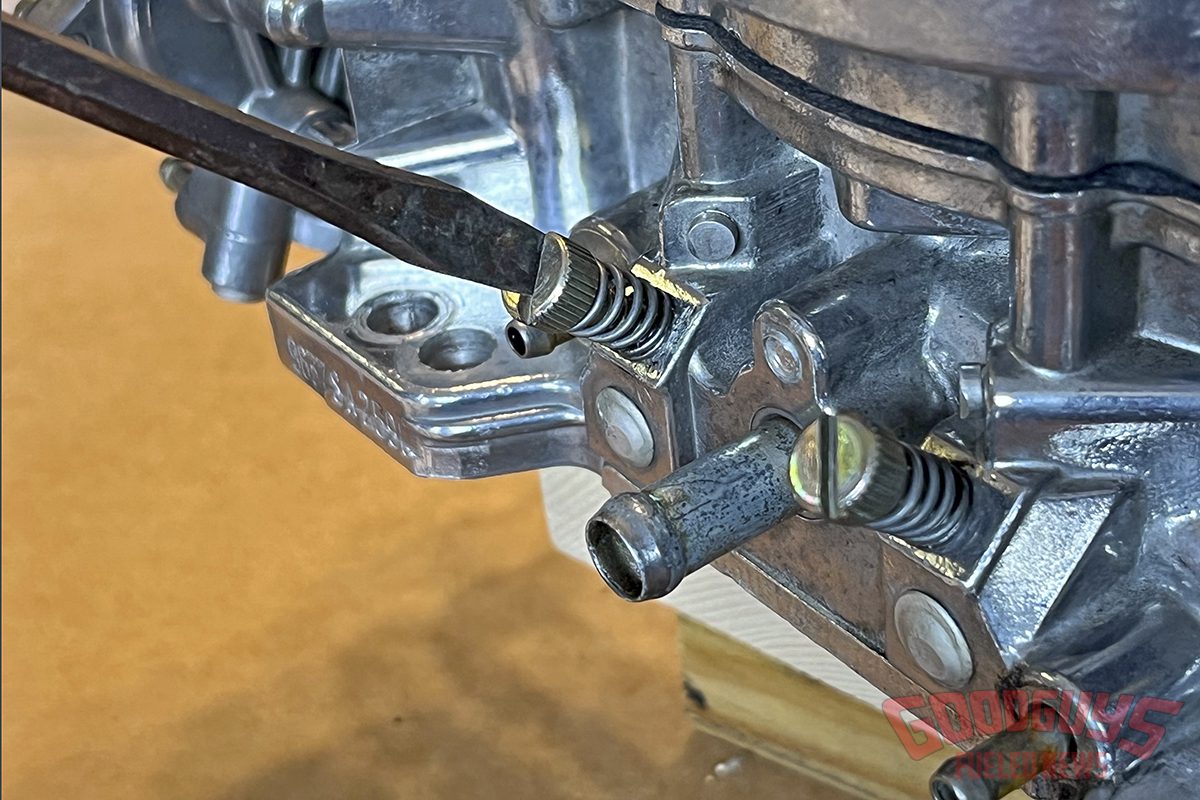
We finished by installing the idle adjusting screws in the base of the body. As a rule of thumb, we started by turning the screws in until they were seated, and then backing them out 1.5-2 turns. We’ll make final adjustments once the carb is on the engine and running.